Setting up a Capella Database
Introduction
In this lab you will gain familiarity with the basic setup of the Couchbase via the Couchbase Capella dashboard. This will enable you to quickly launch a database and load data to be used by successive labs.
What you will gain experience with:
-
Setting up your Capella Account
-
Deploying a trial database
-
Using the Capella administration console to create buckets
-
Using the Capella administration console to import data
Estimated time to complete: 45 minutes
Instructions
Over the course of the various labs, you will use a Couchbase Capella account in combination with a pre-defined lab environment. In this lab, you will set up and configure your Capella database. This lab assumes you do not already have a Couchbase Capella account. If you do, you should be able to complete all labs in this course using your existing account.
Access and launch a Couchbase Capella database
Couchbase Capella is the dashboard from which you will launch your Couchbase database.
If you do not already have a Couchbase Capella account, follow these steps.
-
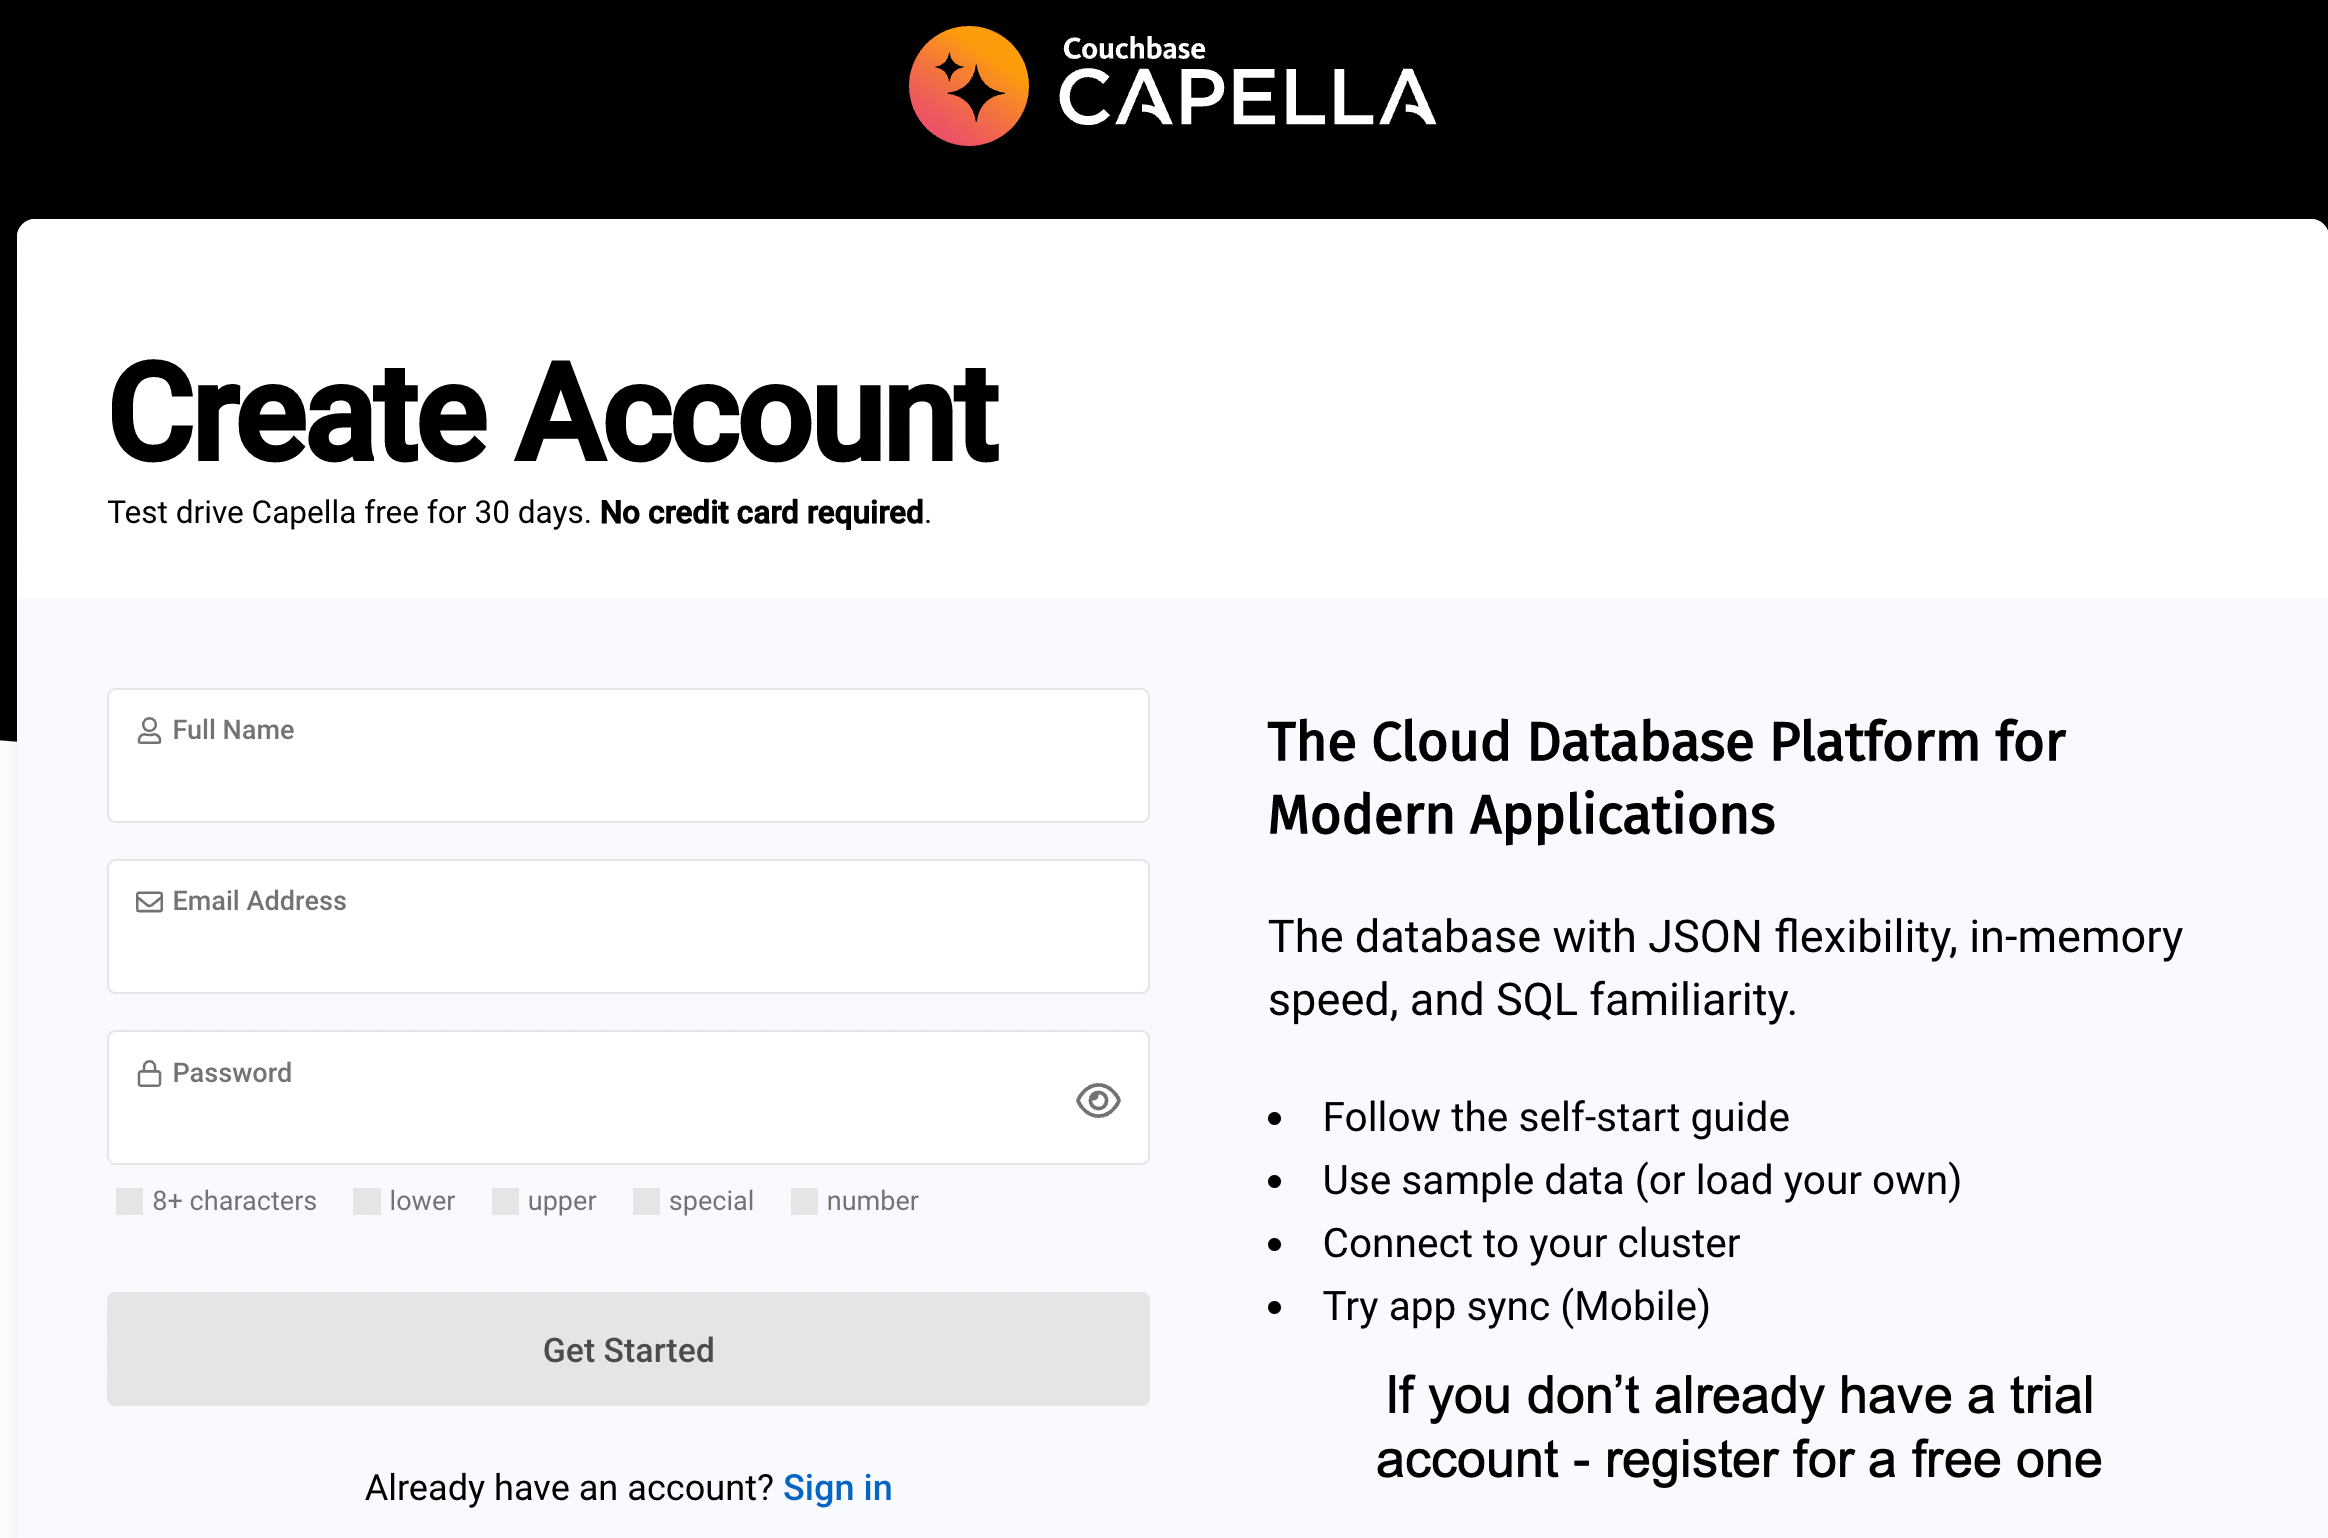
Go to the Couchbase Capella Sign-up page or go to the main Capella Sign-in page.

-
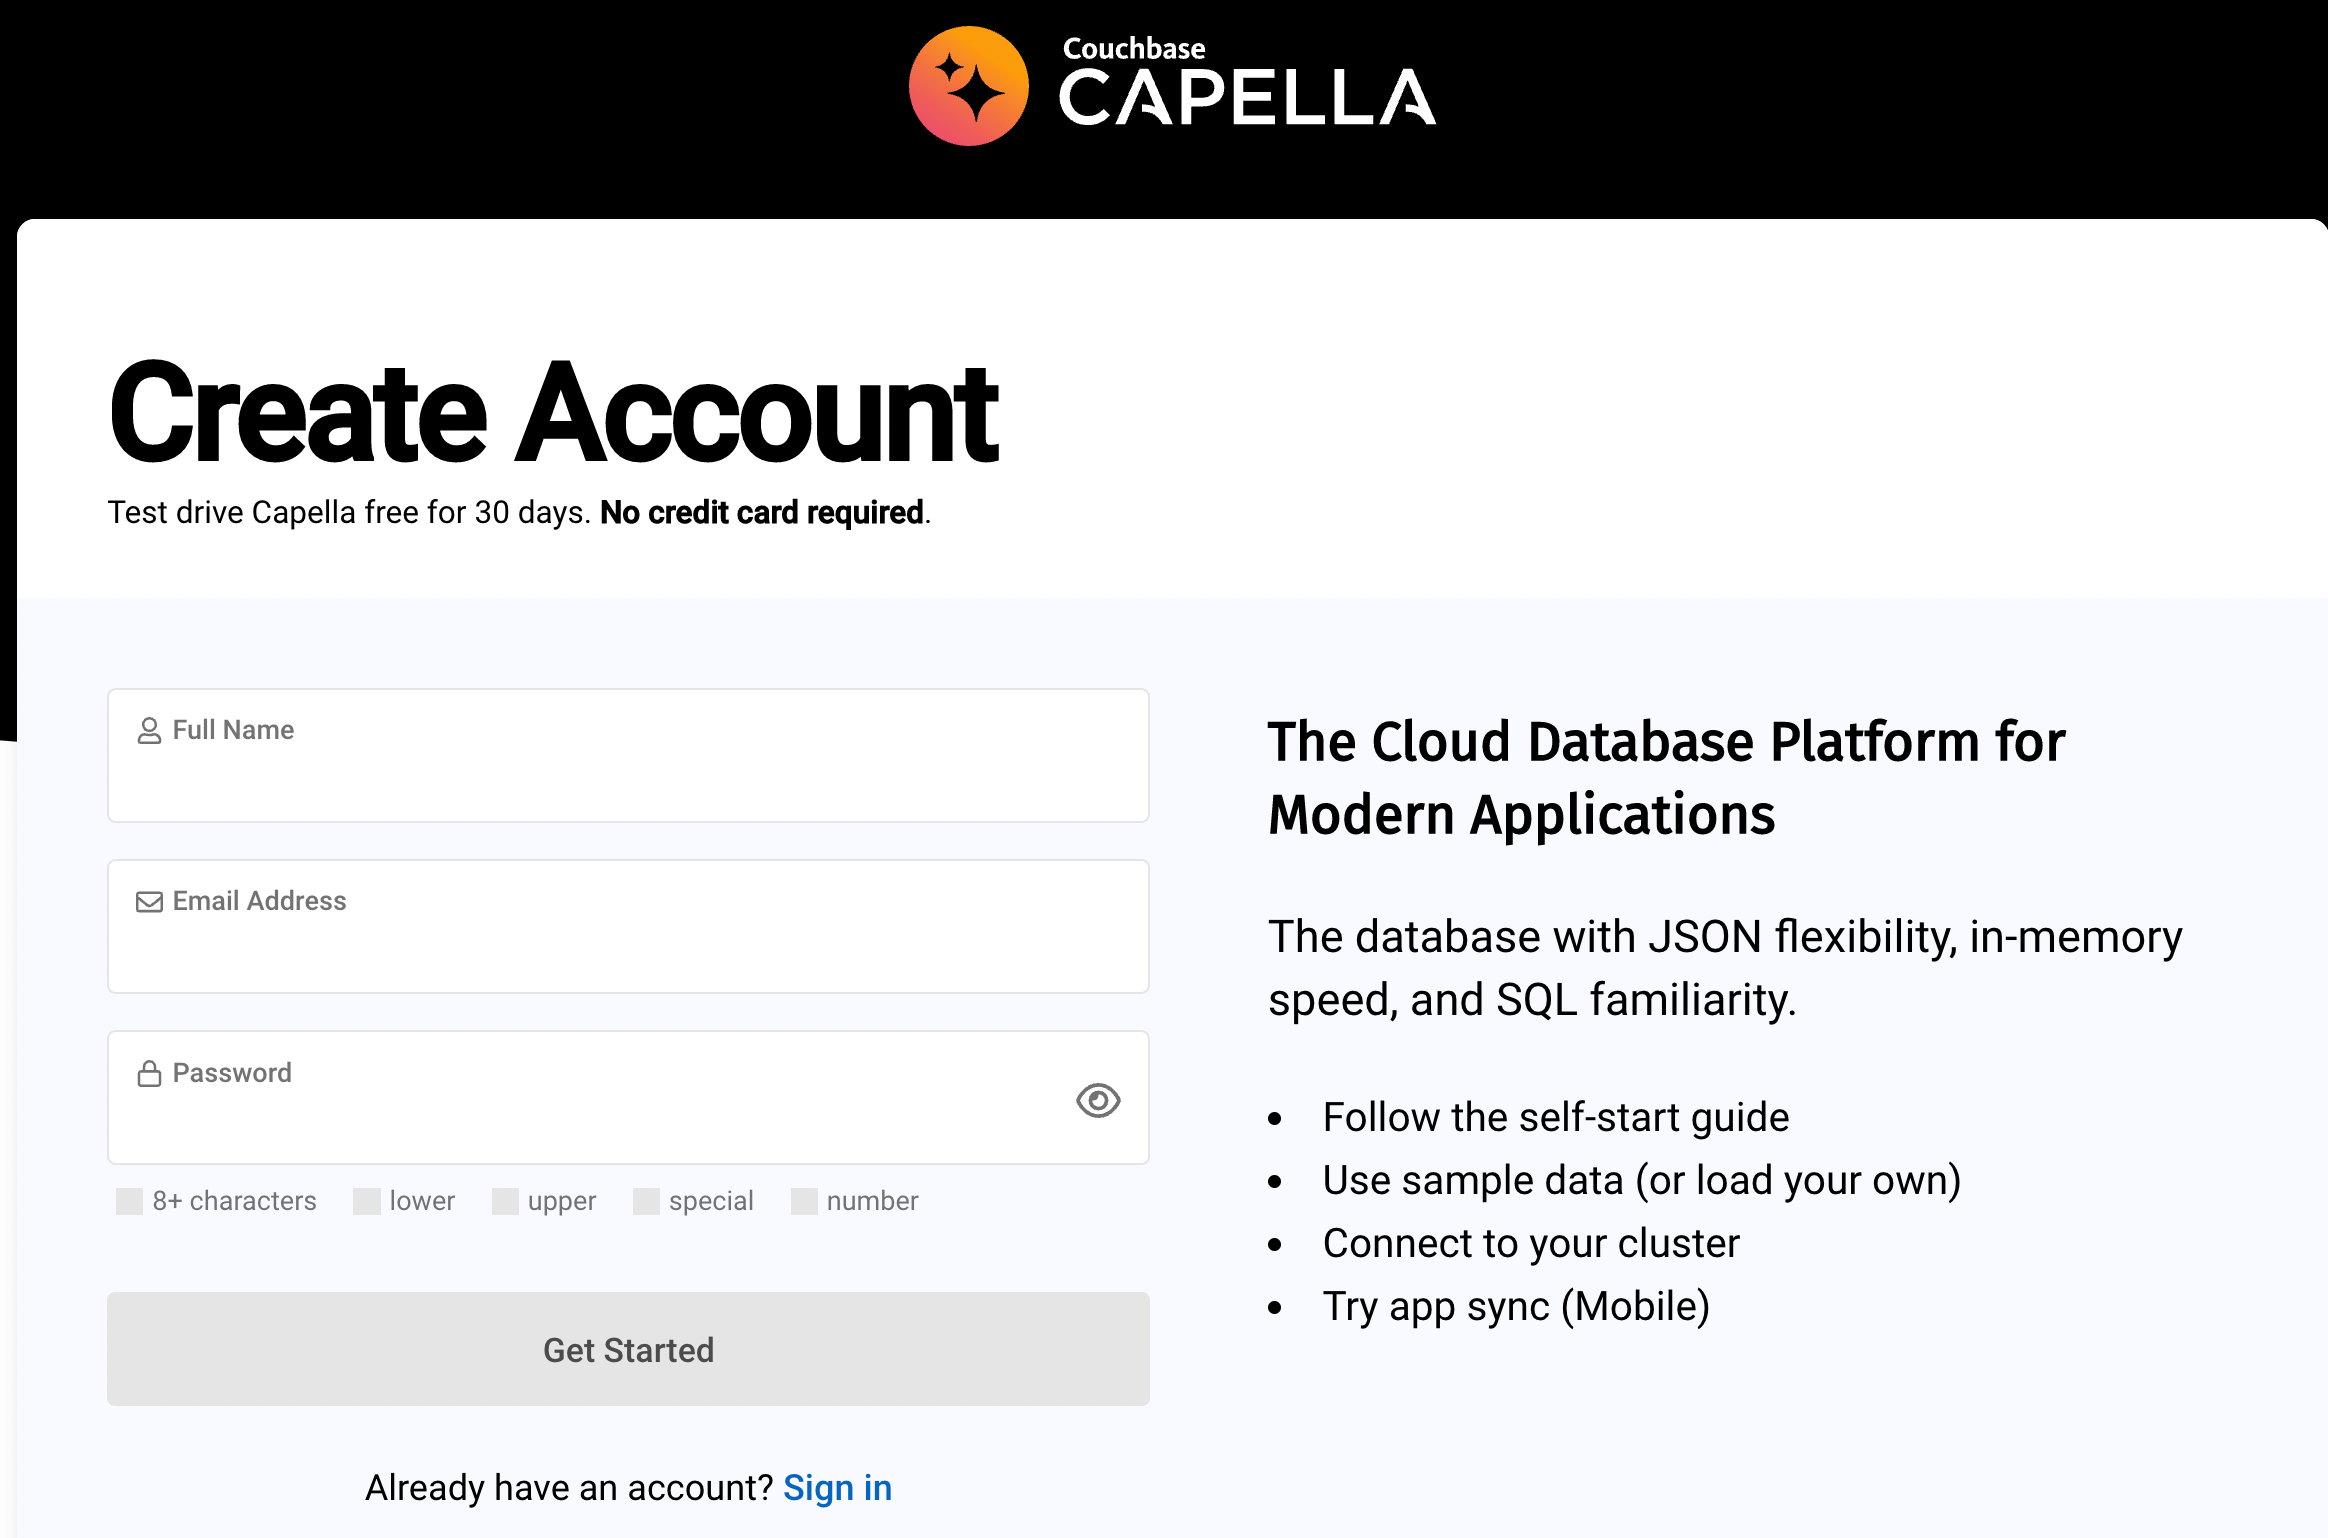
Provide some basic information, such as name, email, company and a password and you are ready to go
-
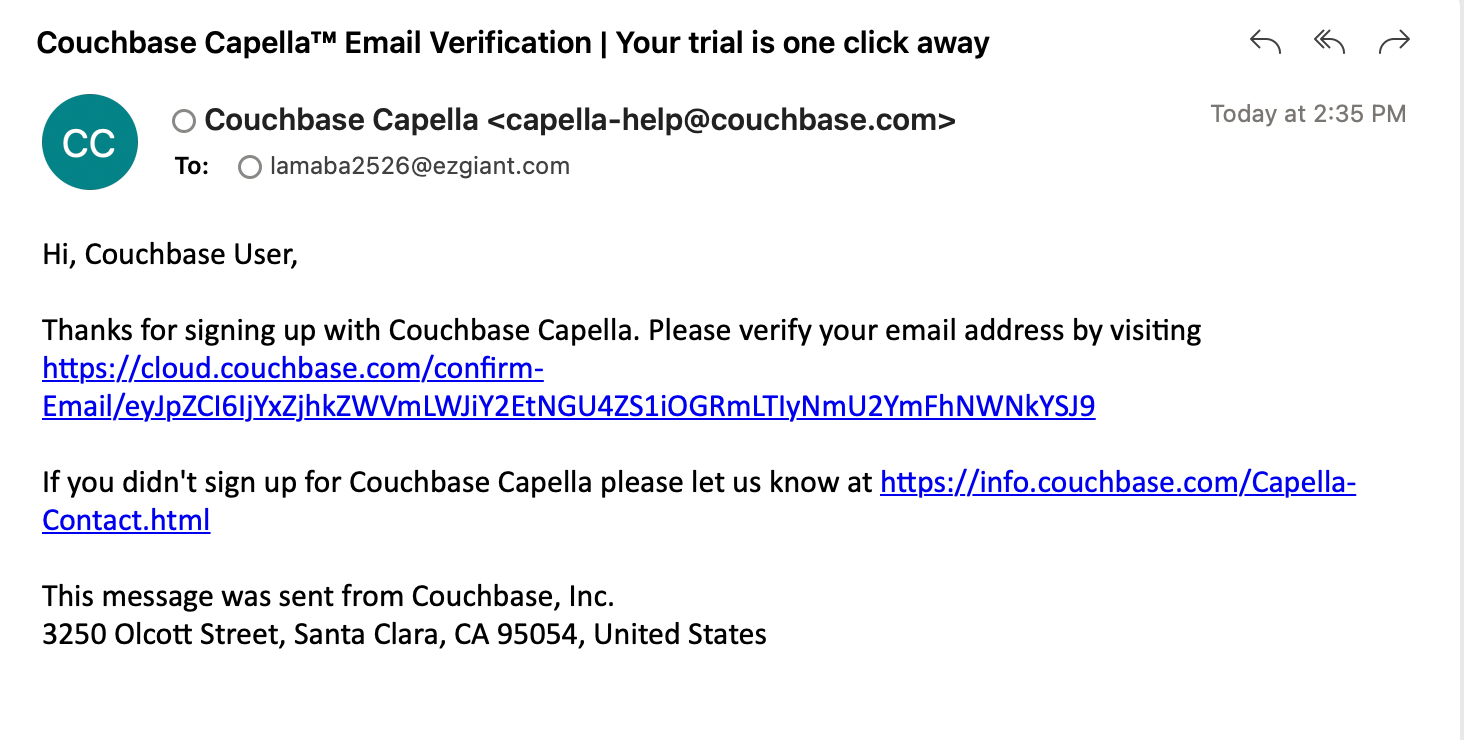
You will receive a confirmation email you must respond to to complete your registration
Once you you have logged in, you will create a database. The trial account uses a basic configuration with most services enabled, which is sufficient for supporting the lab exercises.
-
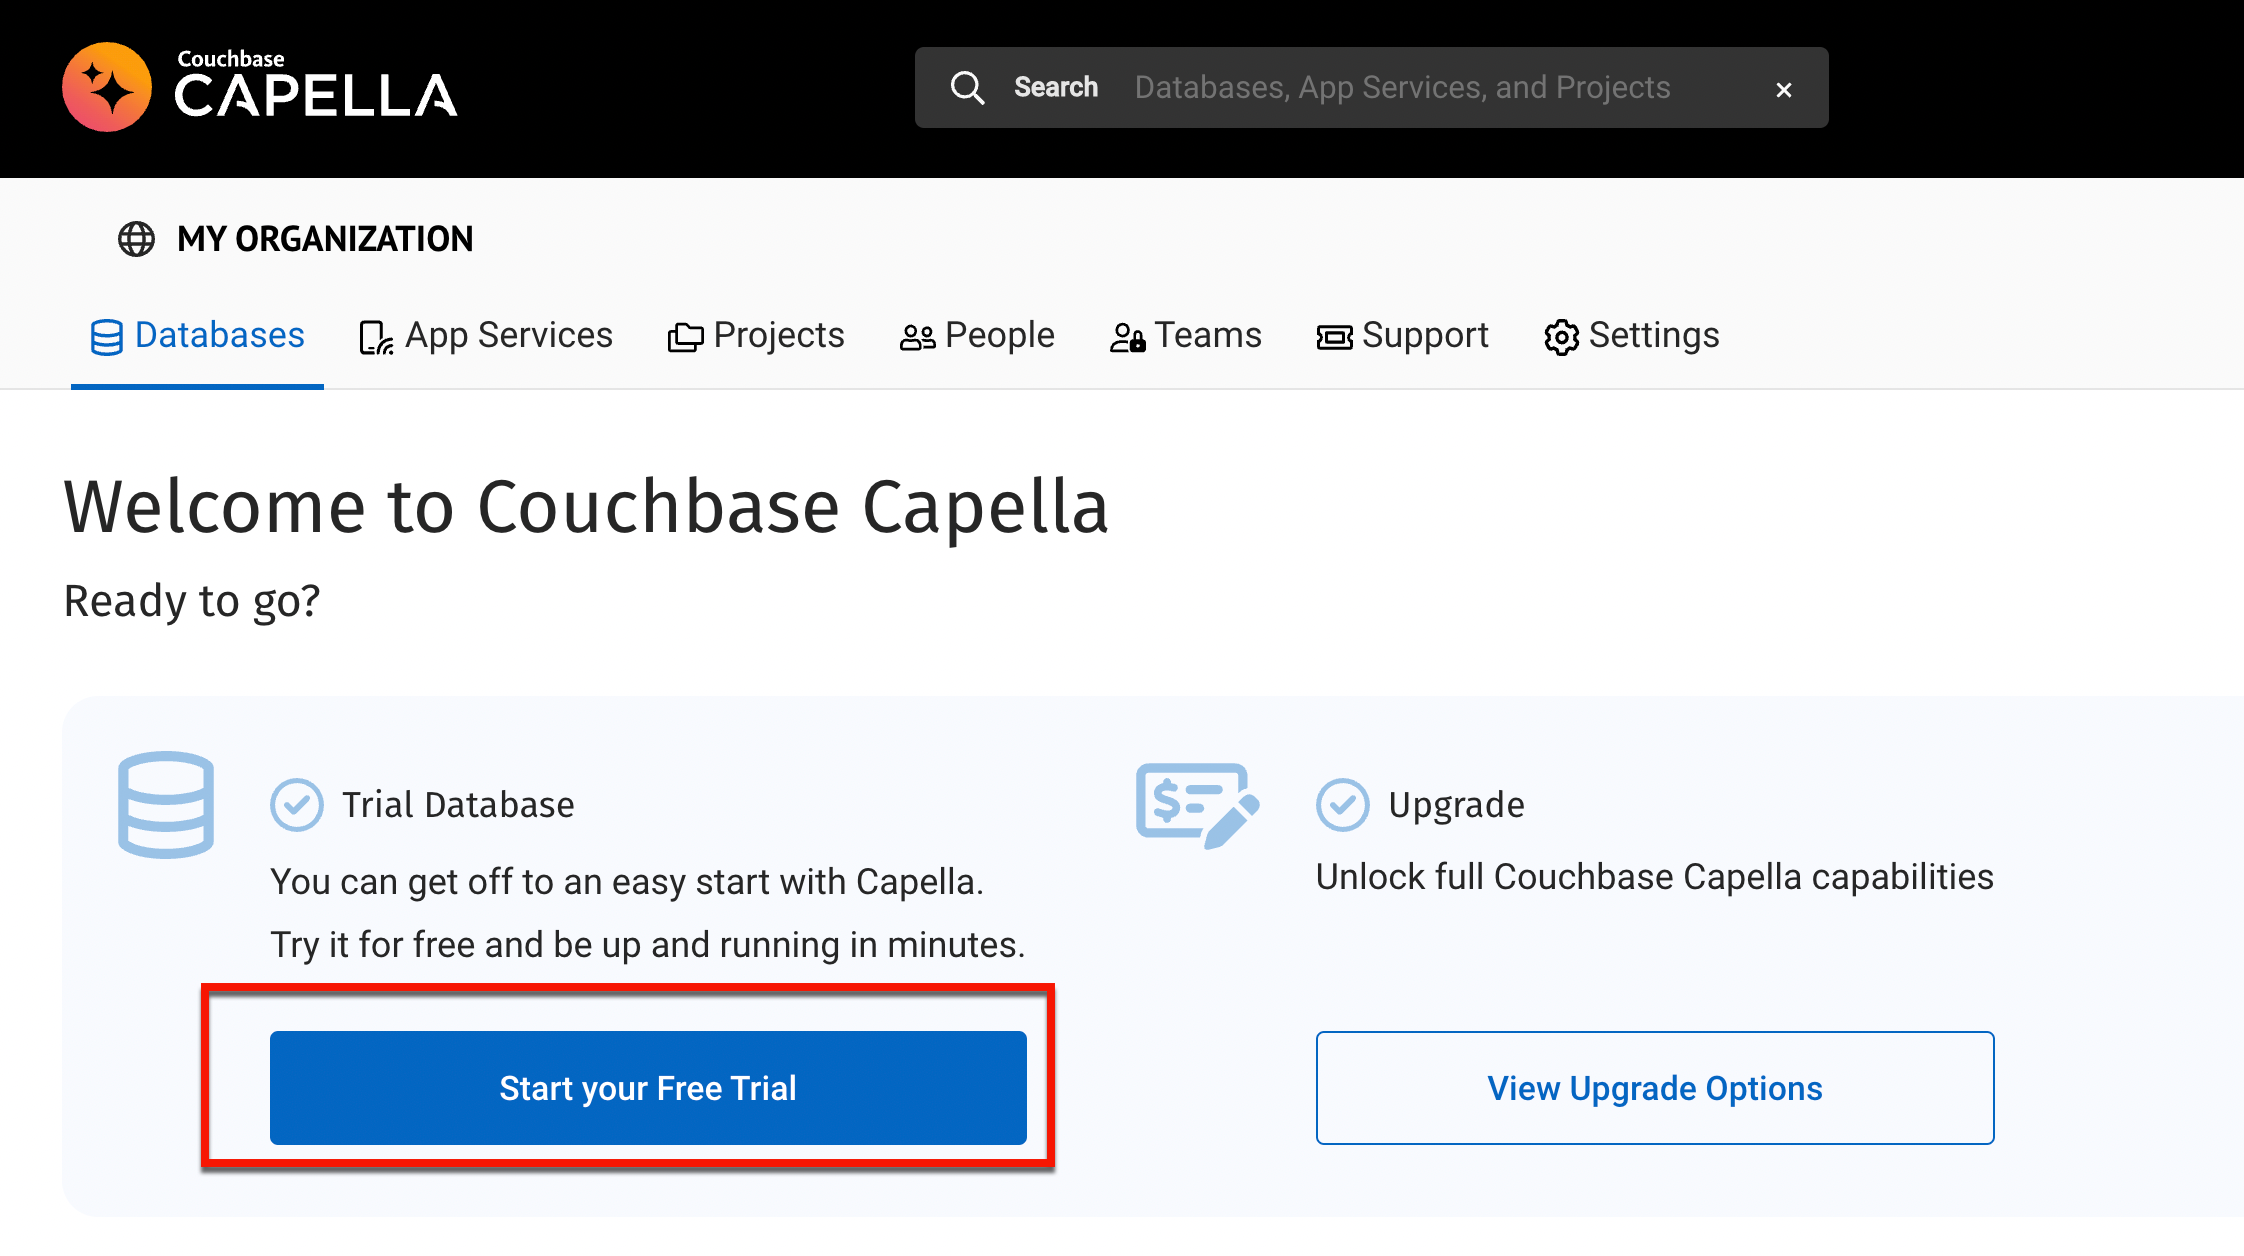
The first time you log in you will need to start your trial. This will take you through a series of steps to accept terms of service and potentially other optional questions.
-
Once you complete the trial steps, you will be taken to the page to deploy a new database.
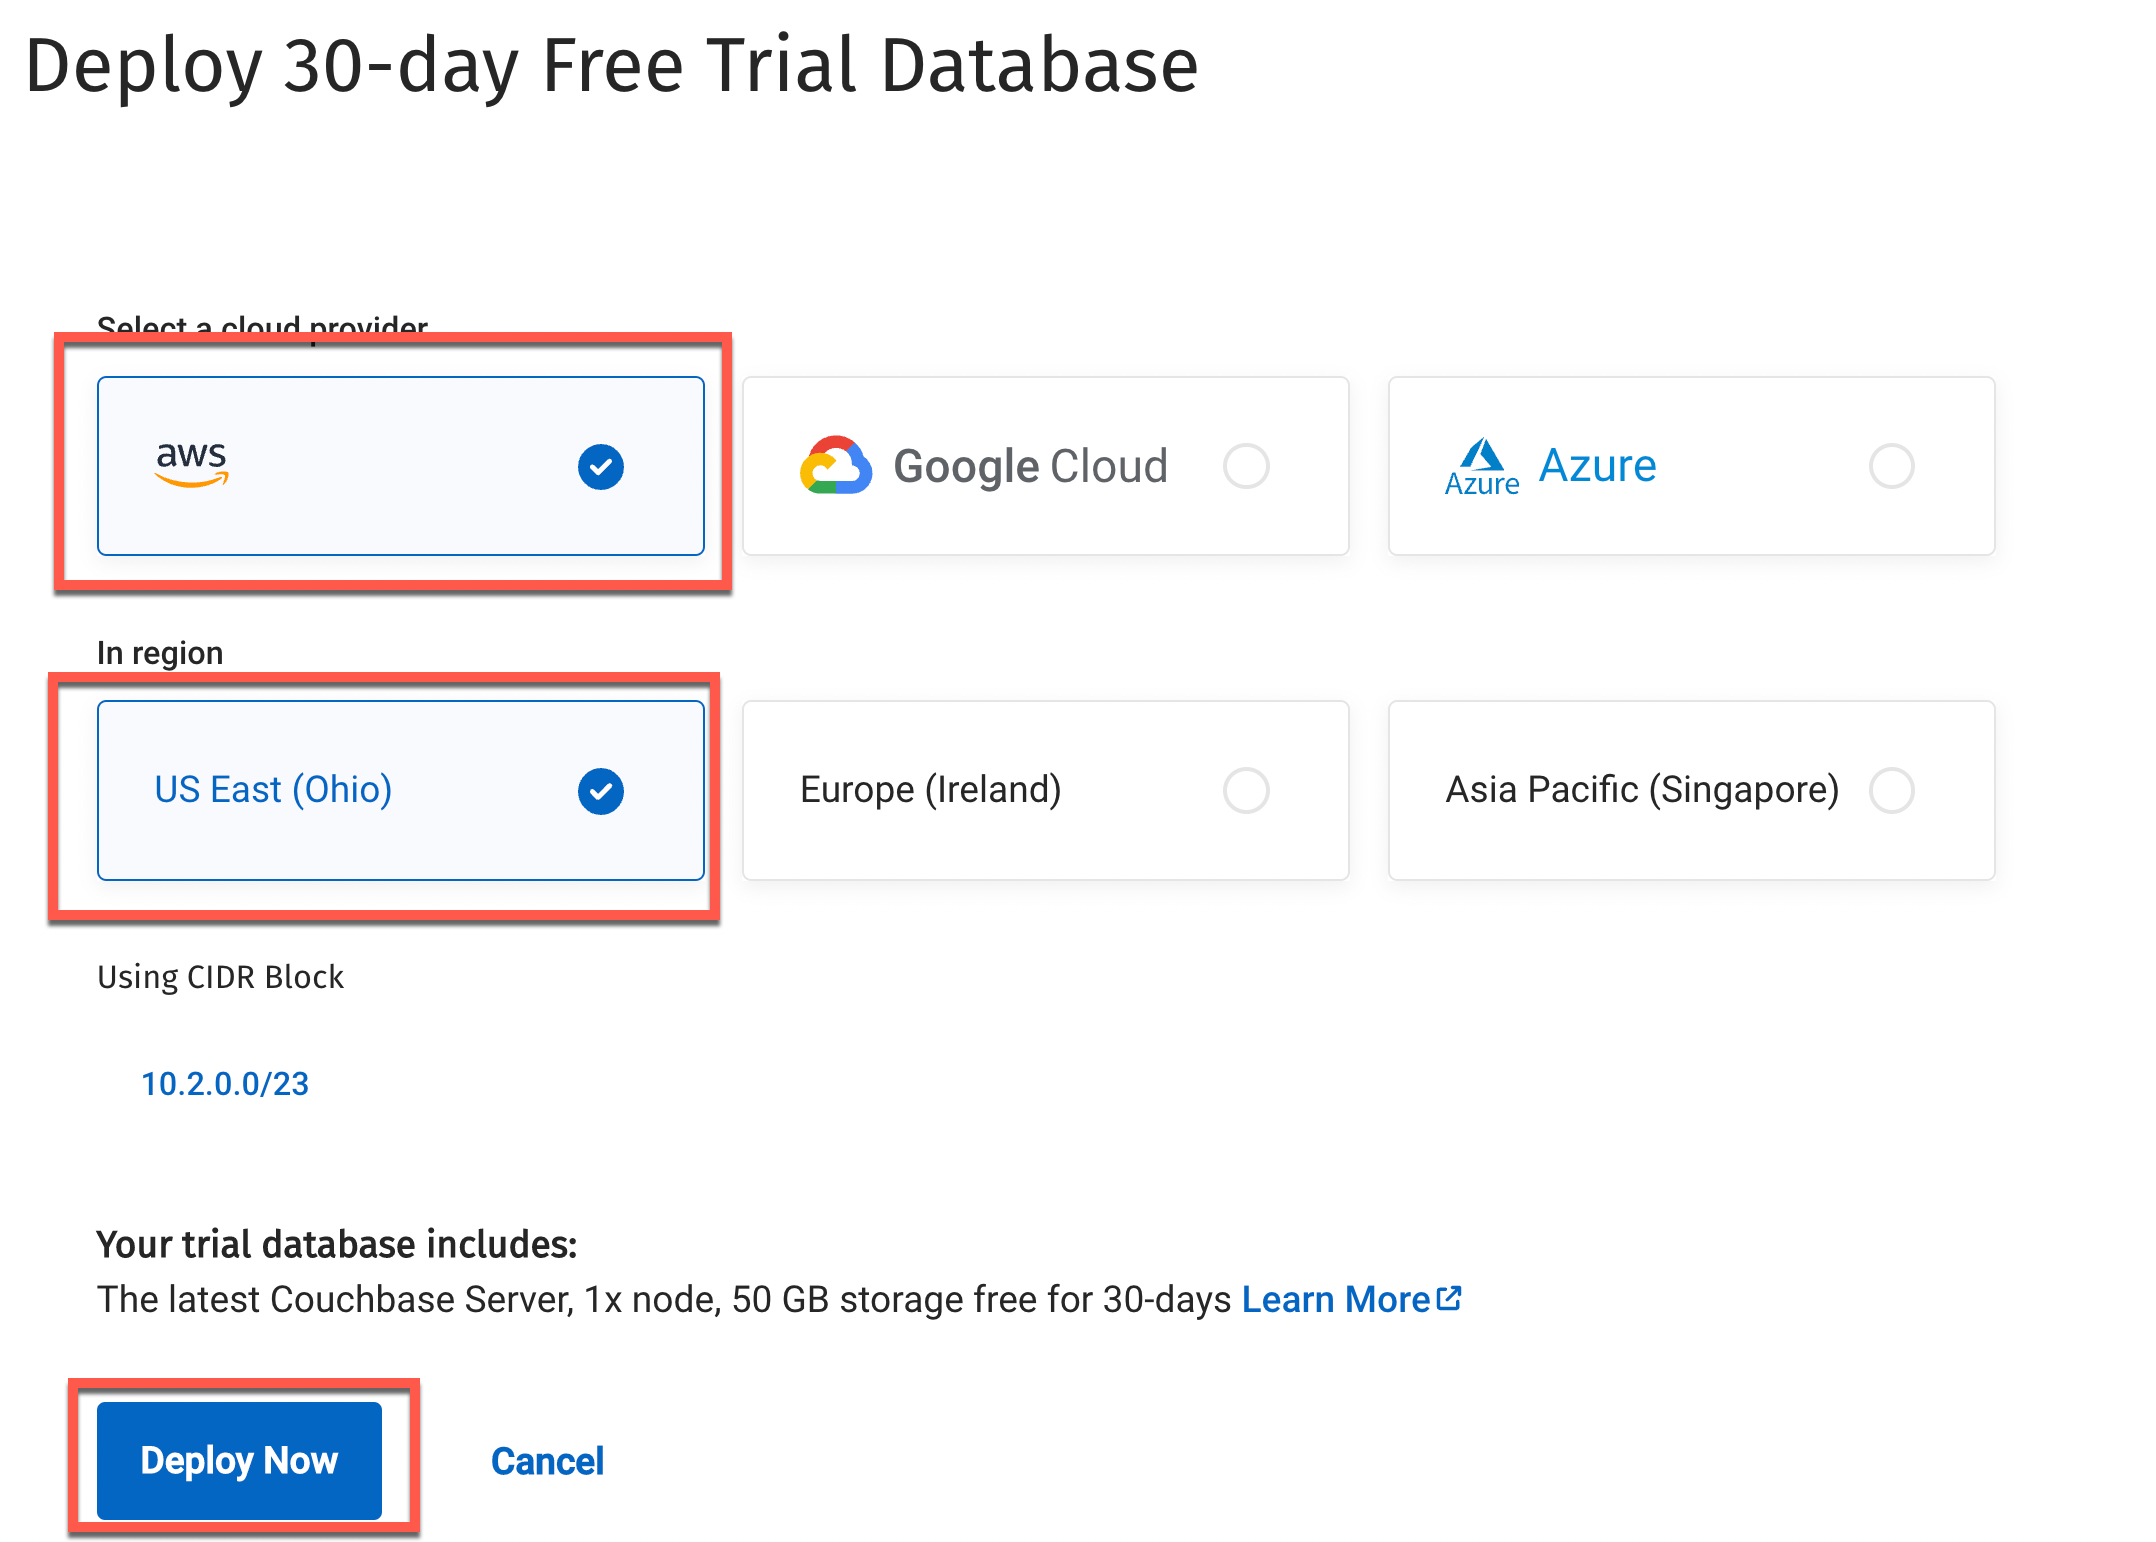
-
The database will deploy in 2-3 minutes. In the mean time, you will see the status of the database in 'Deploying' status.
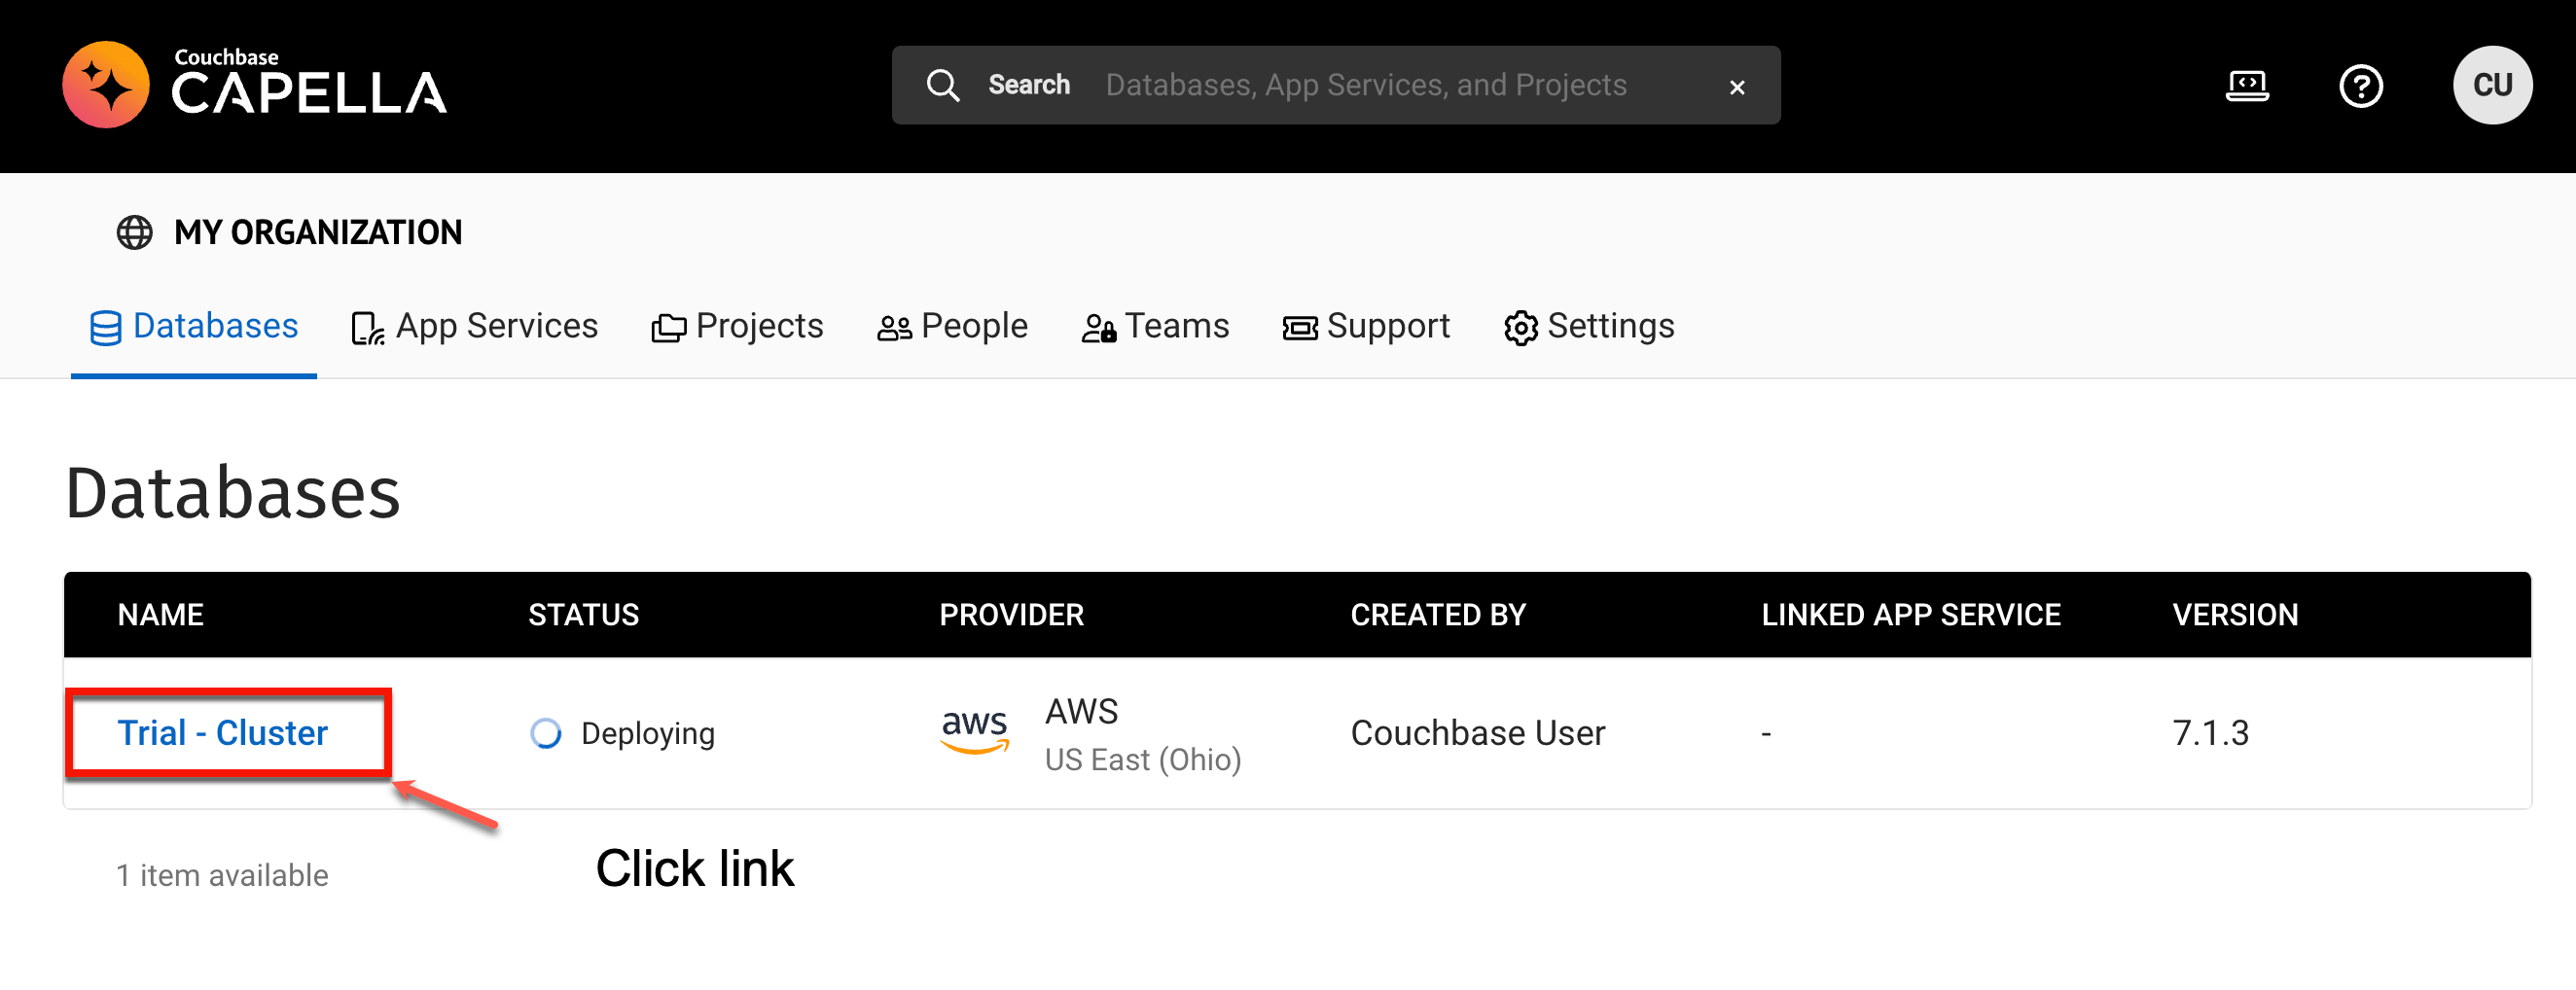
-
Observe database has been deployed when status indicates
Healthy -
To access the database details, click on the database name Trial - Cluster. For the trial accounts, you will be presented with a Start page that will present a number of options and make it easier to navigate your trial database.
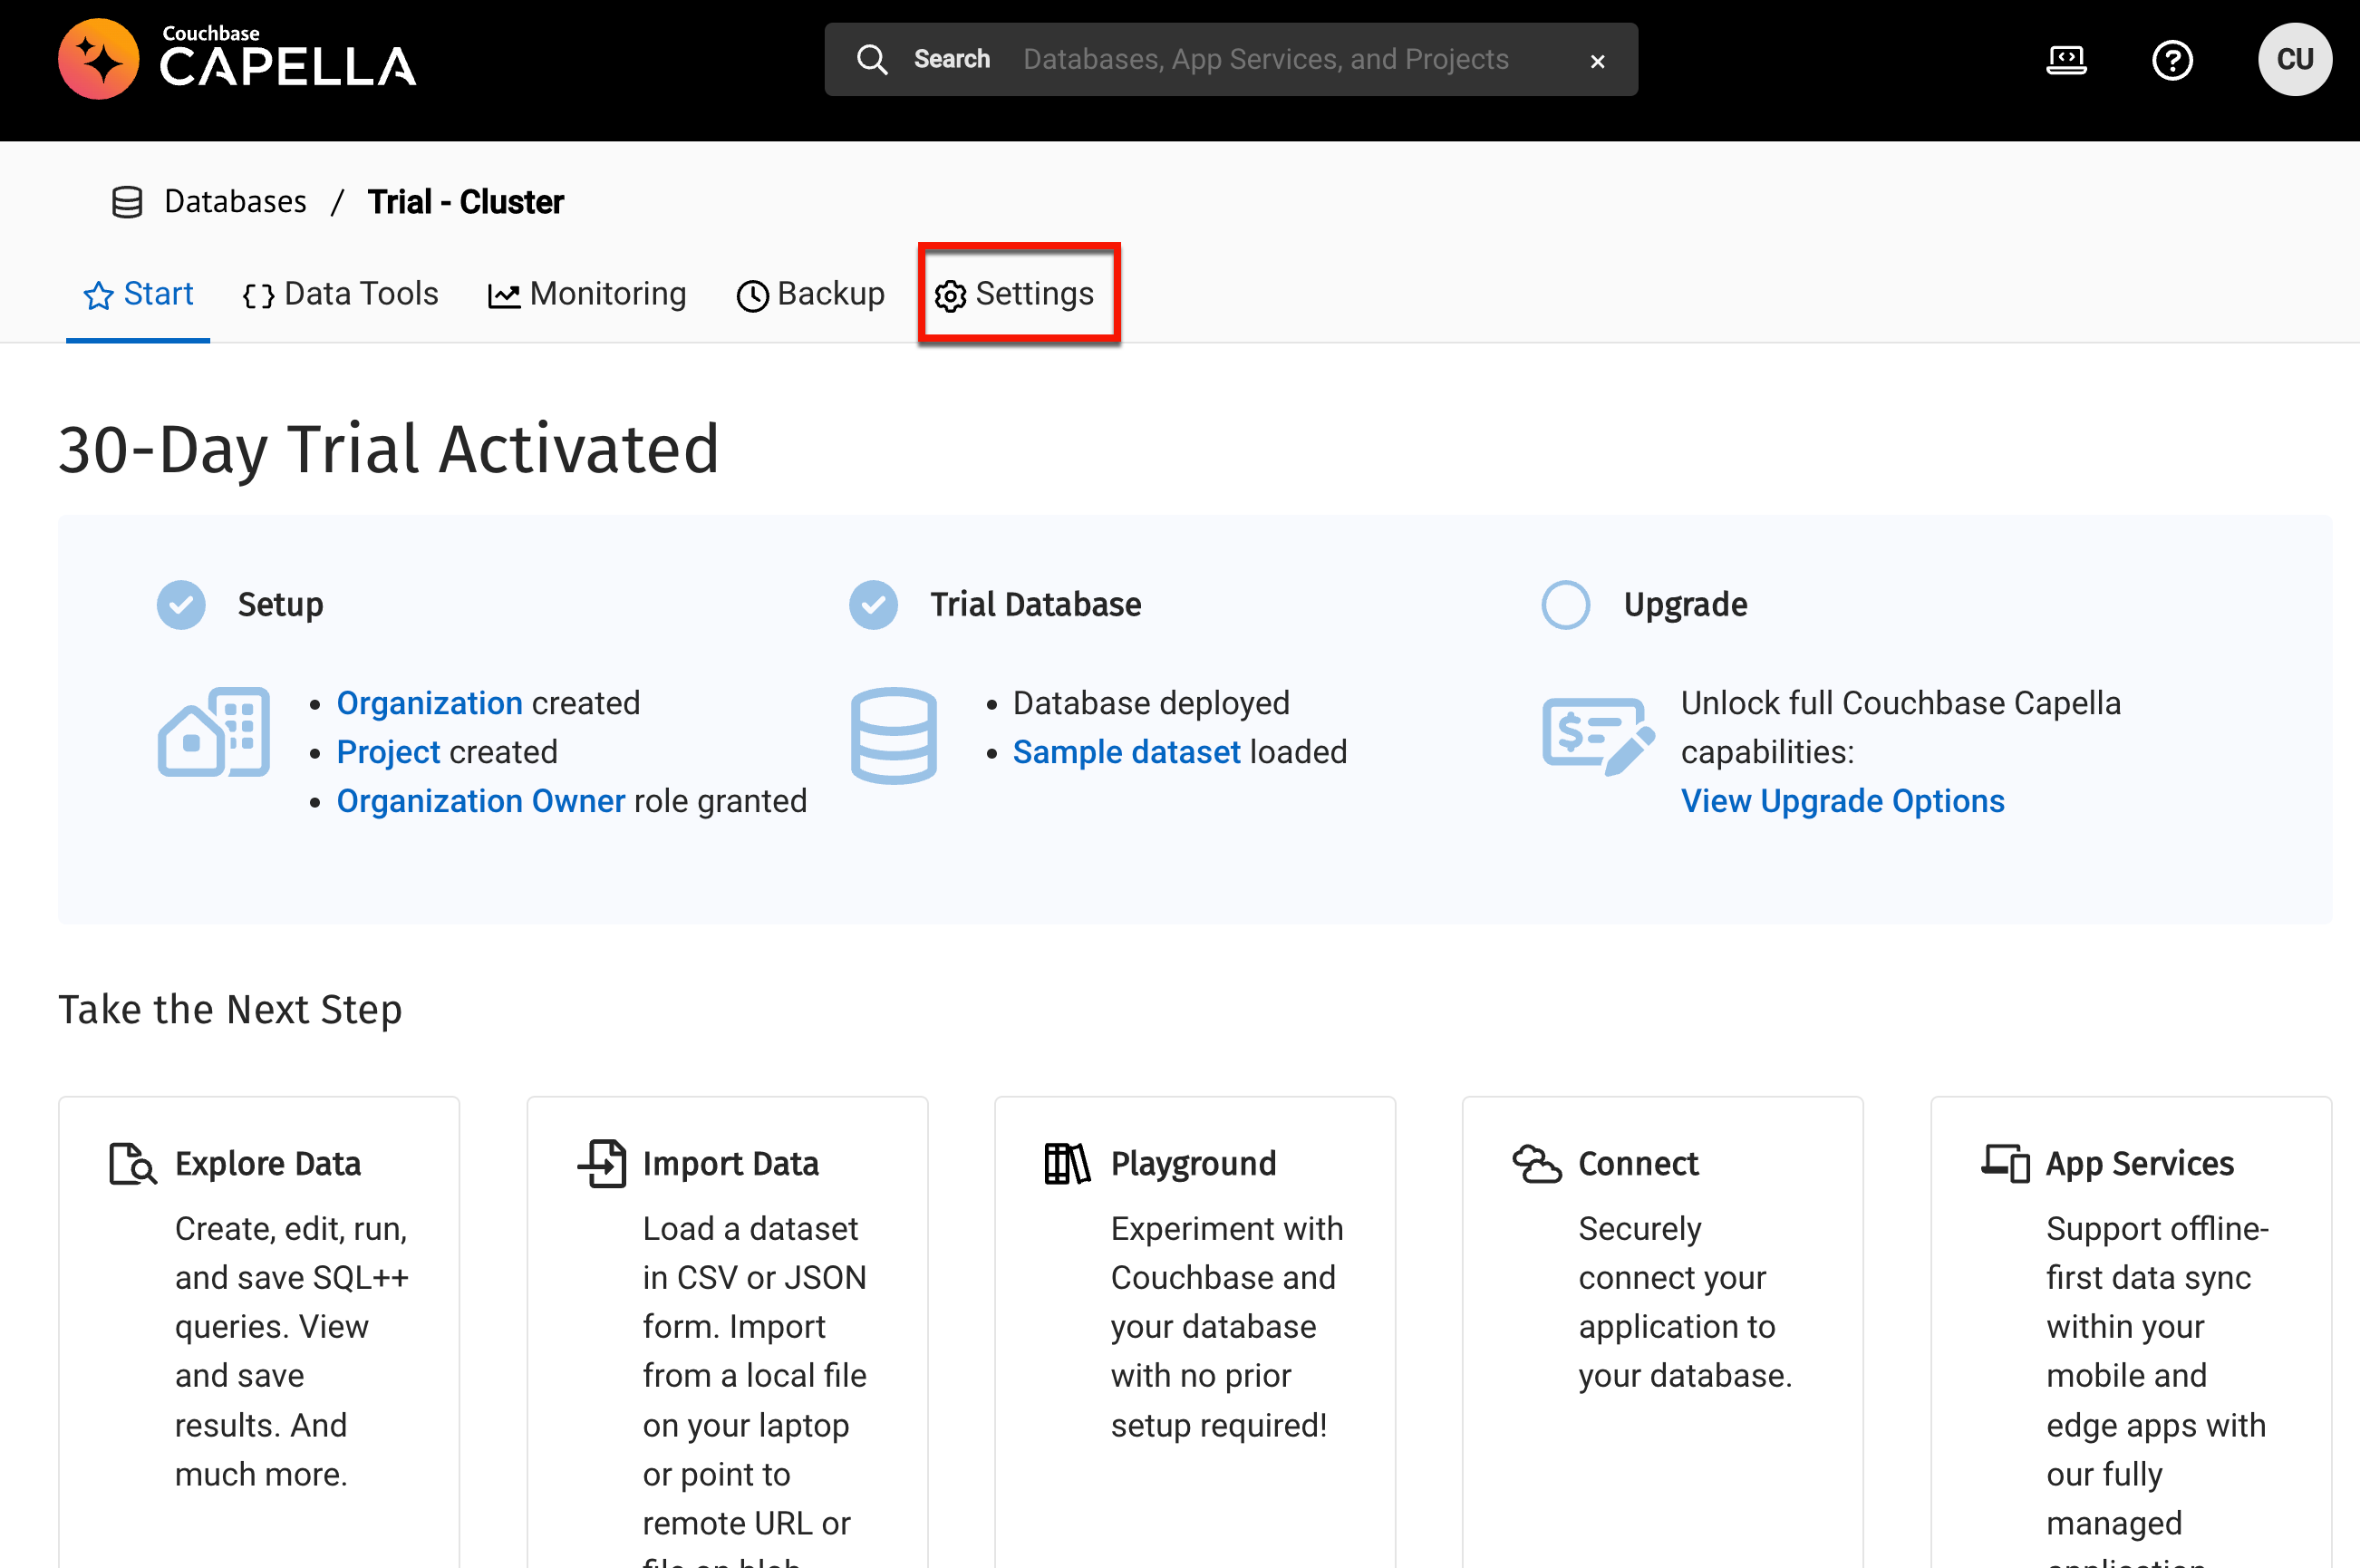
-
The first thing you may want to do is rename the database.
-
To change the database name a various other configuration items, click on the Settings link on the menu at the top of the page.
-
Notice immediately at the top of configuration items is the Database Name.
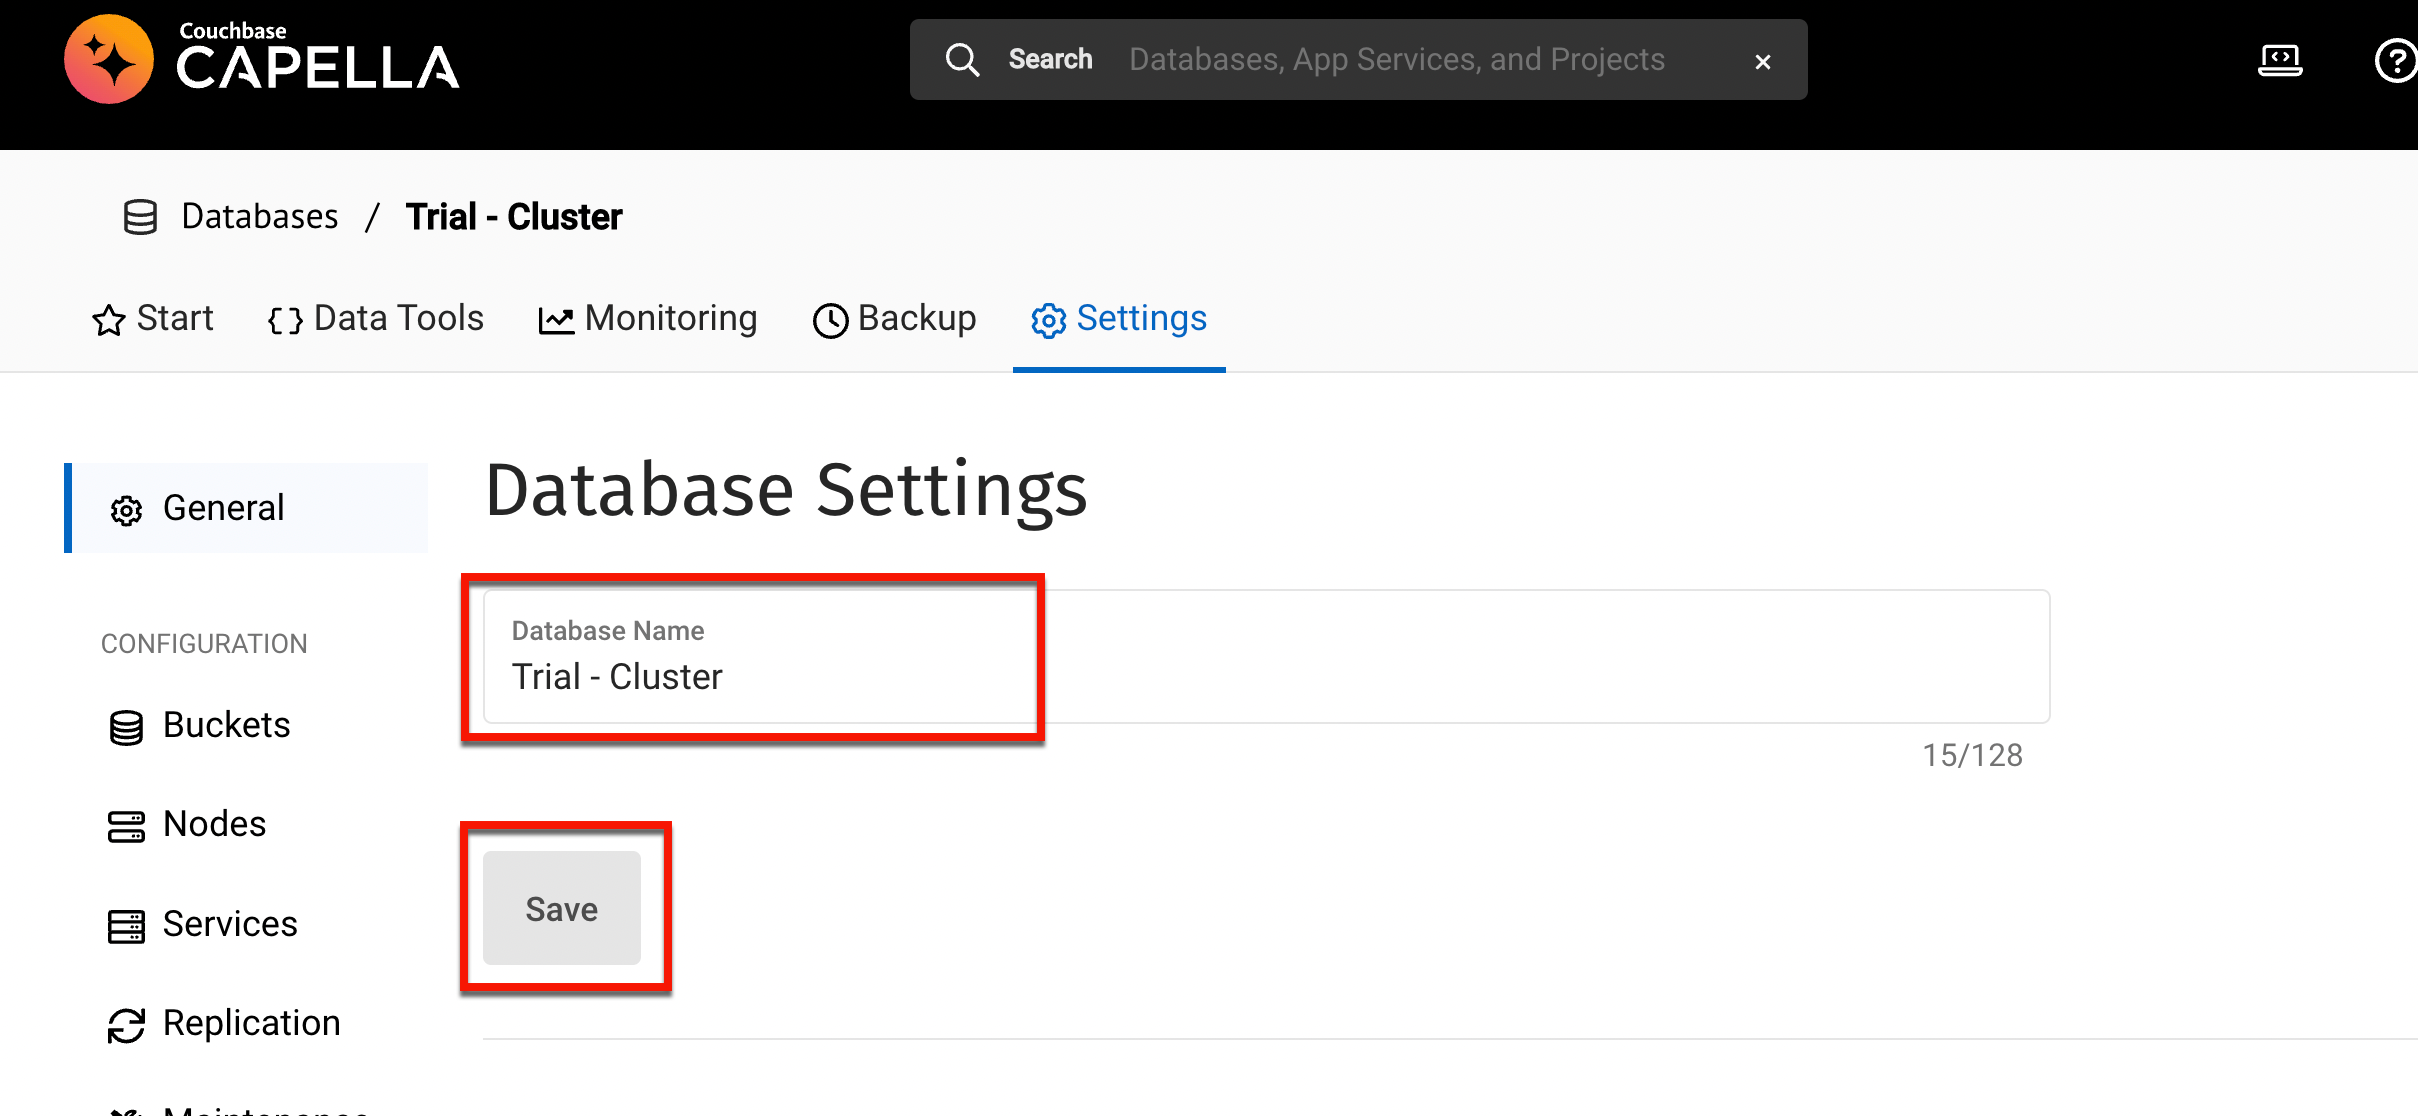
-
Replace the database name, specifying specify the name Couchify Database
-
Click the
Savebutton to complete the rename process
-
Survey the Couchbase Capella administration console
Take a moment to explore the Couchbase Capella dashboard. The dashboard menus are broken into two categories.
-
The menu running across the top represents the major categories of functionality (data tools, monitoring, settings, etc).
-
Upon selecting any of these major menu items, there may be additional sub menus running down the left side.
-
Try clicking on the Data Tools or Settings menu to see an example of this. You will be using many of these menus over the successive labs.
Documentation is available at https://docs.couchbase.com/cloud/index.html
Manually create buckets
-
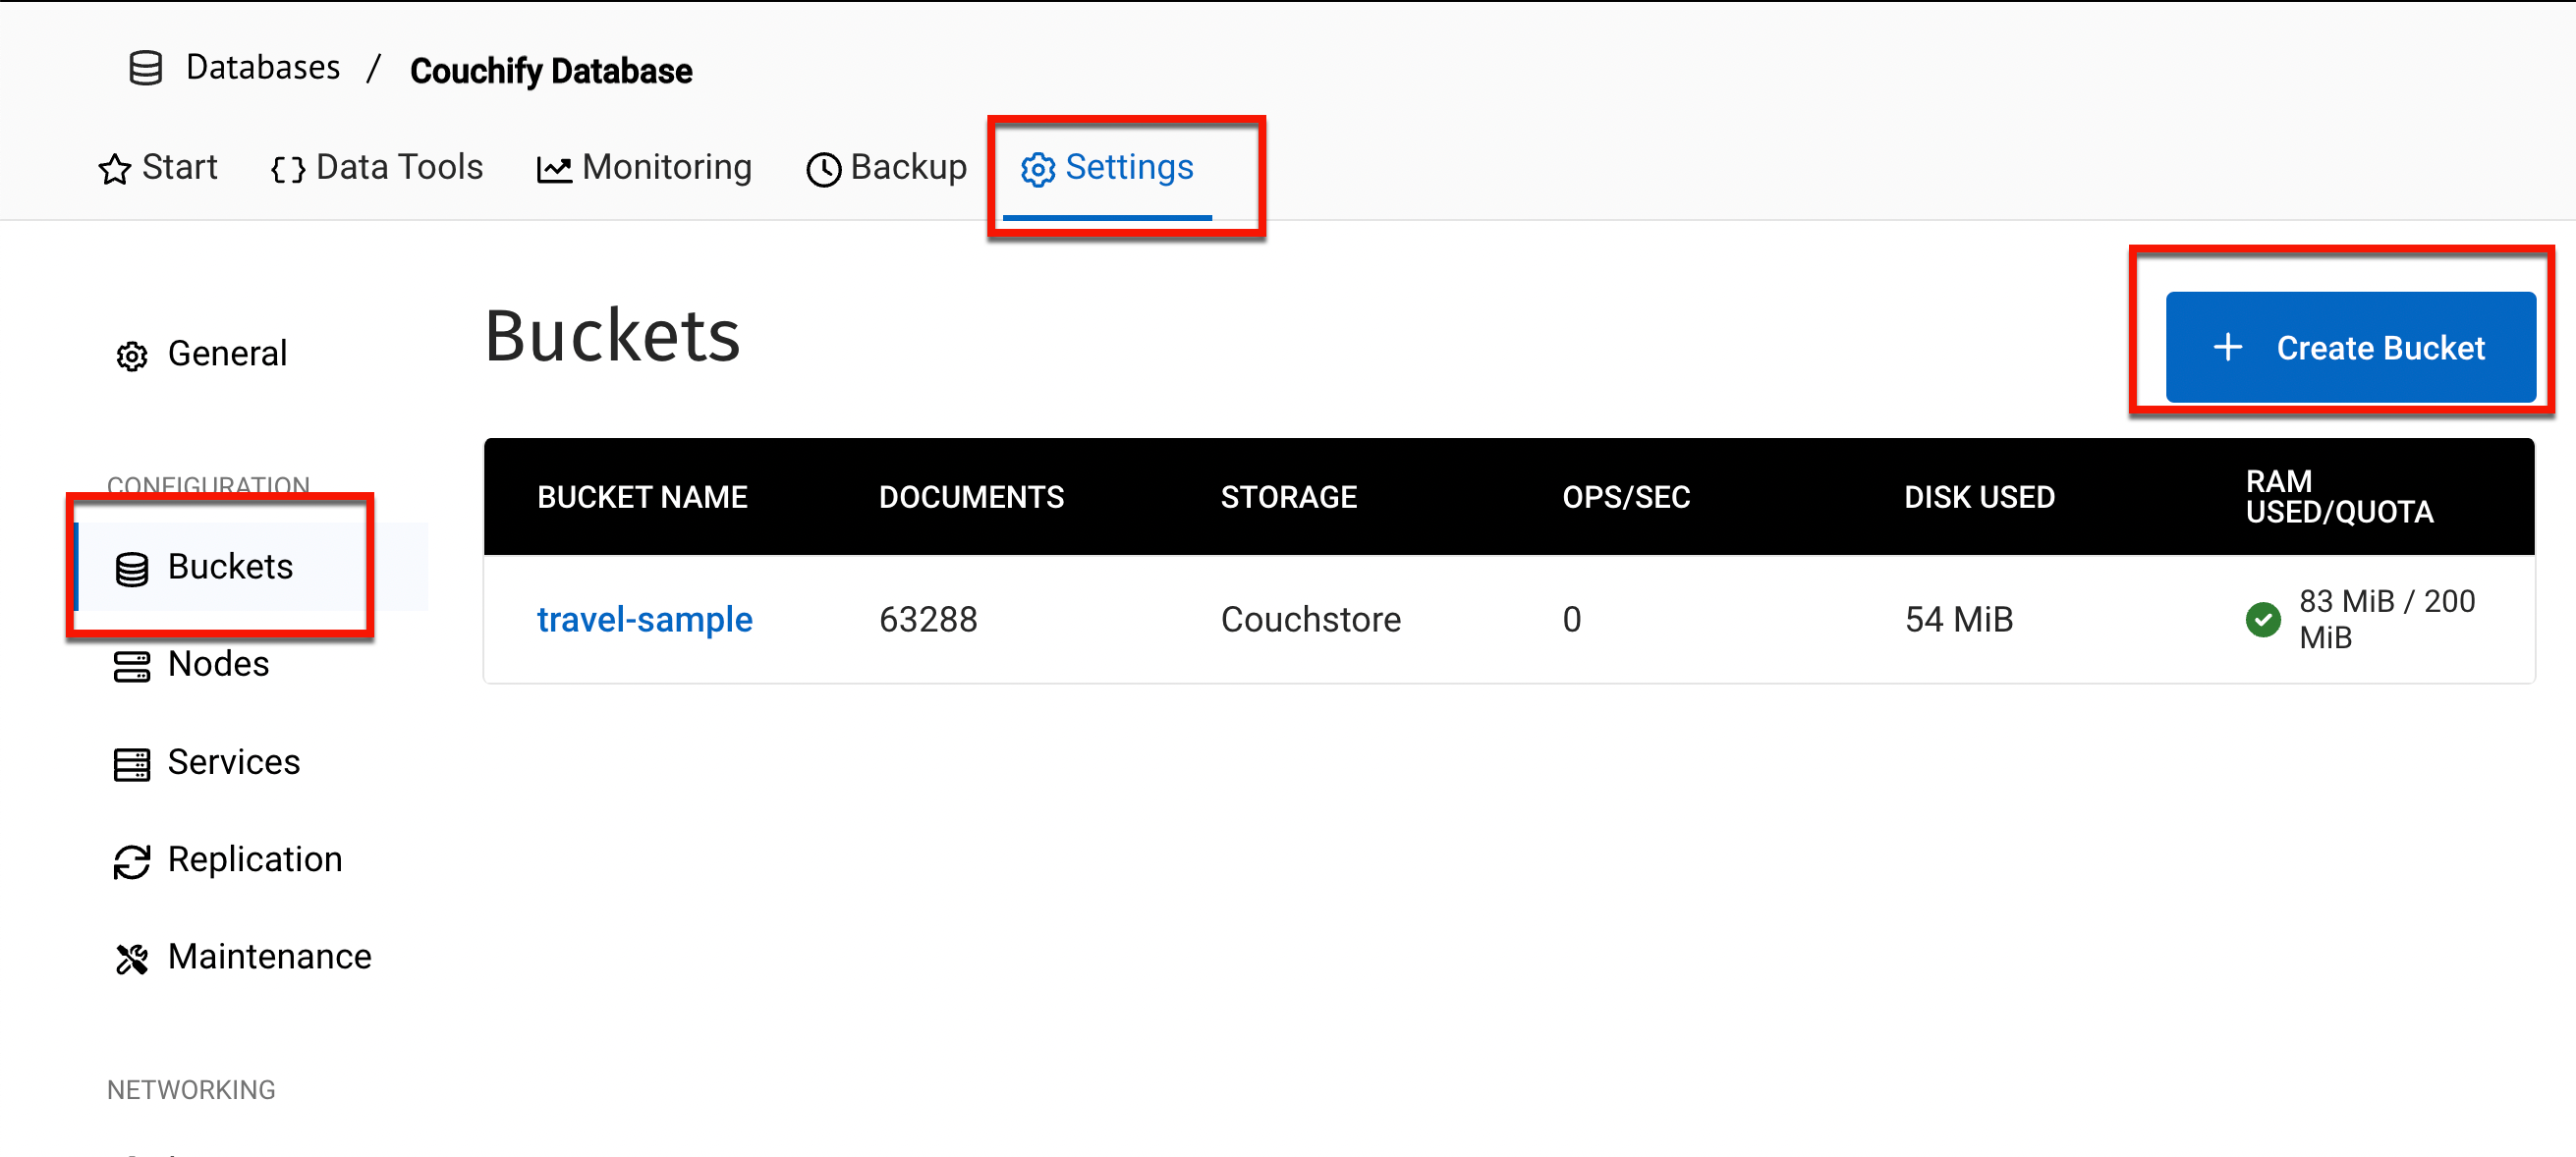
In the Couchbase Capella administration console, navigate to the Buckets view (in the Settings) menu, and select Create Bucket.
-
Creation of the bucket will occur in steps managed by successive pages. Review all settings, and accept all defaults, except for these:
-
Name: couchmusic1
-
Memory Quota: 200mb
-
Bucket Settings (click)
-
Flush: Enabled (check)
-
-
-
Create two additional buckets couchmusic2 and couchmusic3 using the same settings.
Load documents into the couchmusic buckets
-
Download the couchmusic data files to your desktop using this Download link.
-
Use your unzip tools (command line, windows, etc) to unzip the COUCHMUSIC-sample.zip files Verify files have been successfully unzipped as shown.

-
You will use the Import feature under the Tools menu to initiate a series of imports of the data files into each collection. The basic process will be the same for each data file for each bucket.
Load the data for the couchmusic1 bucket as follows.
-
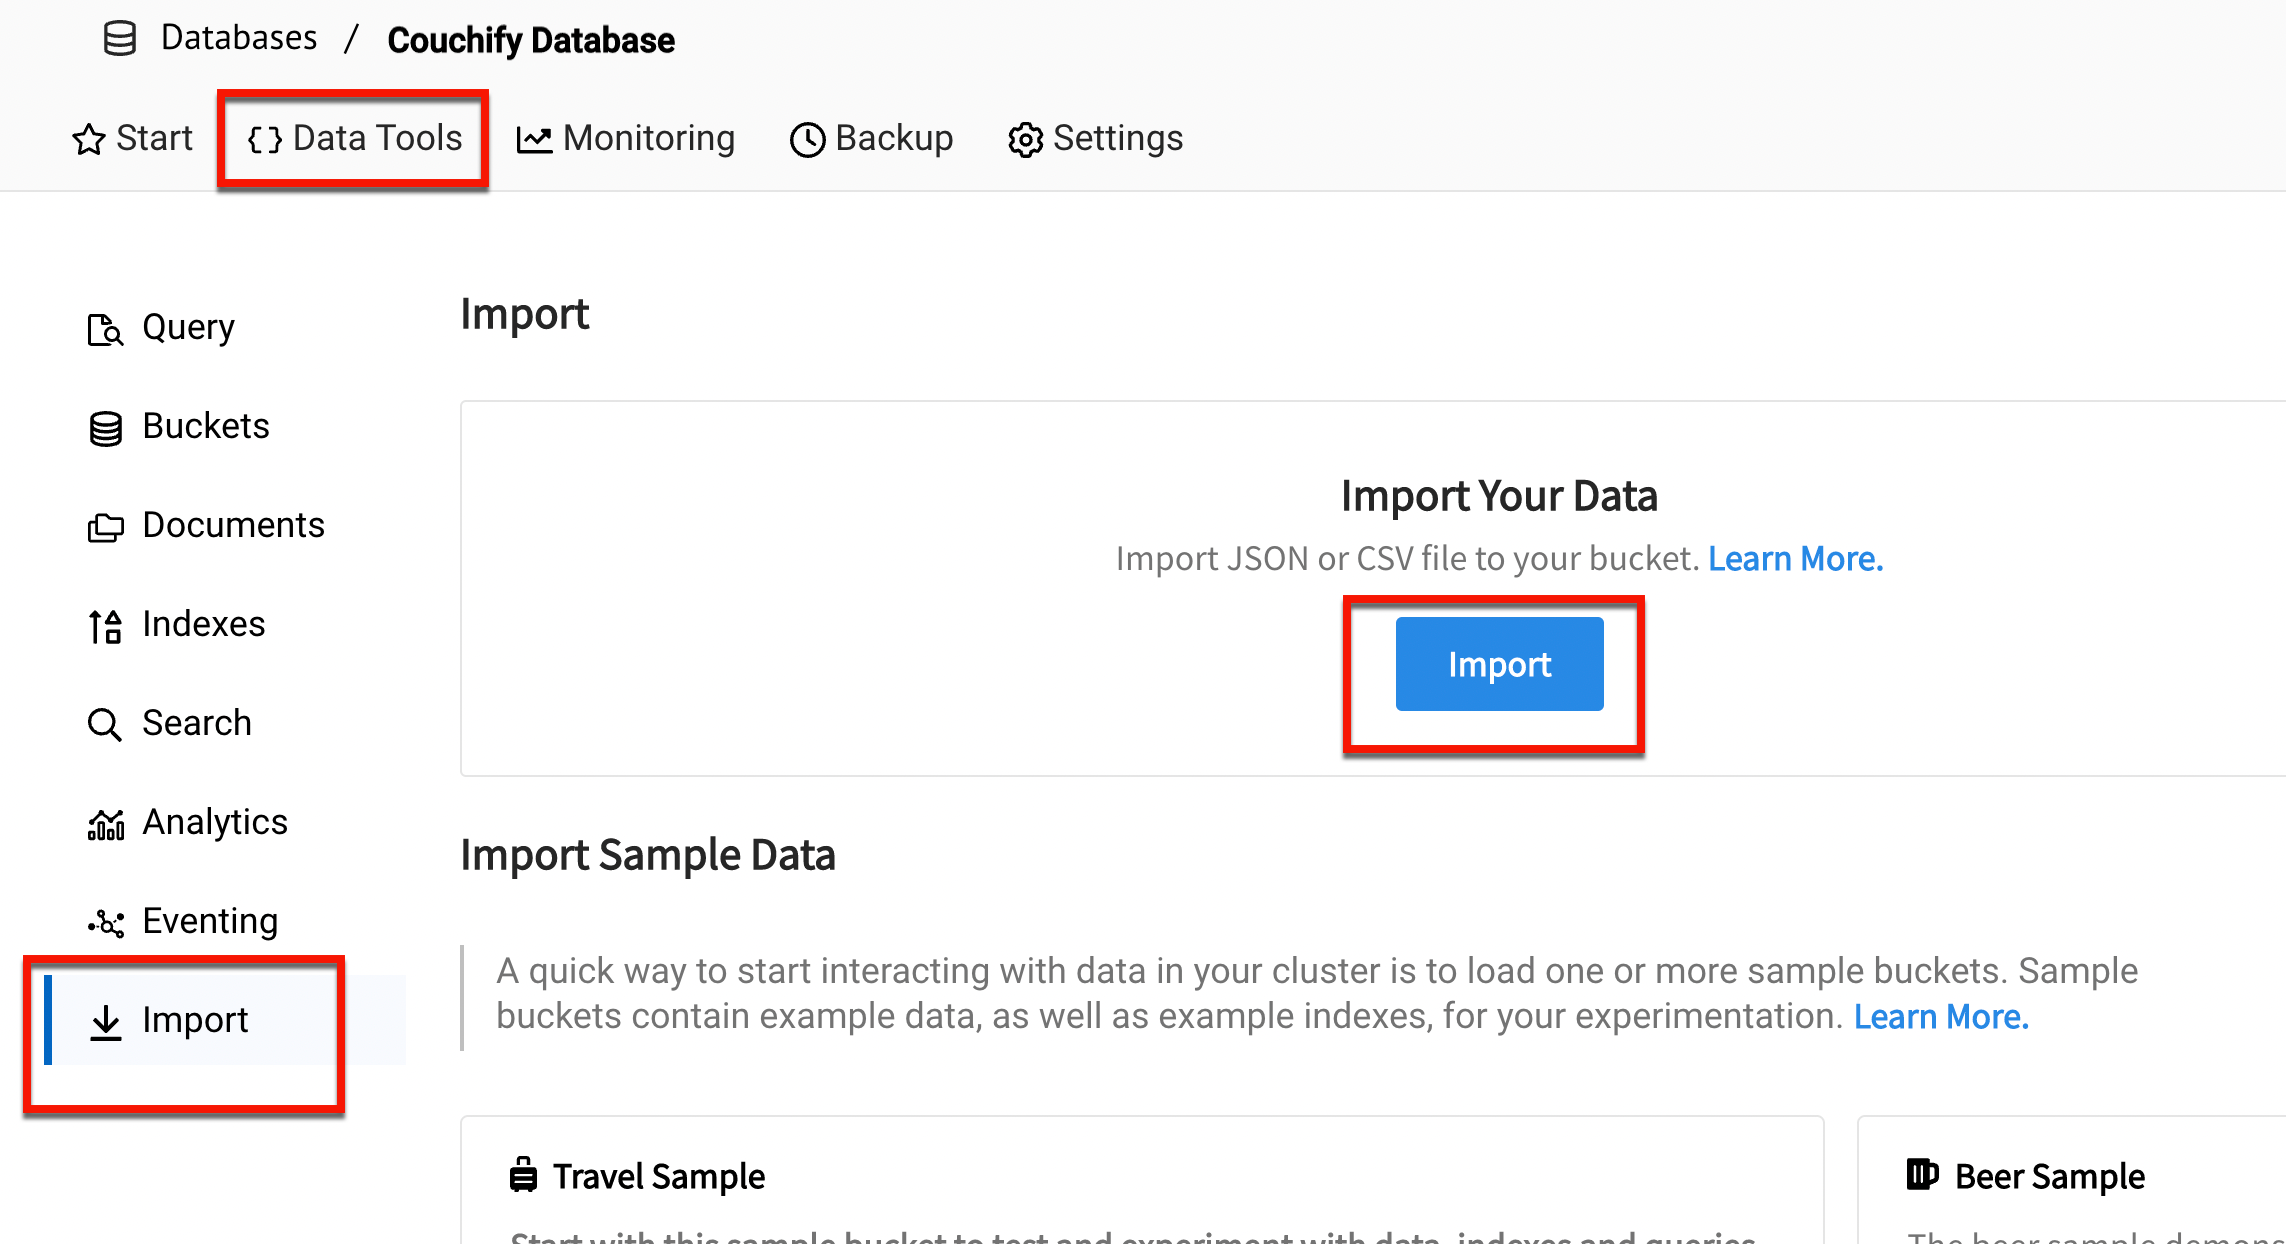
From the Import page (found under Data Tools), select the Import button
-
Select the bucket to import into (couchmusic1) and click the Next button.
-
On the File page, select the JSON file type and the Archive format
-
Finally, select to import using your browser. You may alternatively use the Manual method, however, this will not be covered in the instructions.
-
Locate the
couchmusic1.zipfile, which contains all the documents to be loaded into the various collections within the couchify scope. Drag this file over the drop zone on the page or use the Choose a File like to open a file selector to locate and load the file. -
Click Next
-
On the Collections page, leave the selection on Select Single Collection and then select the _default scope and _default collection from the appropriate pull-downs.
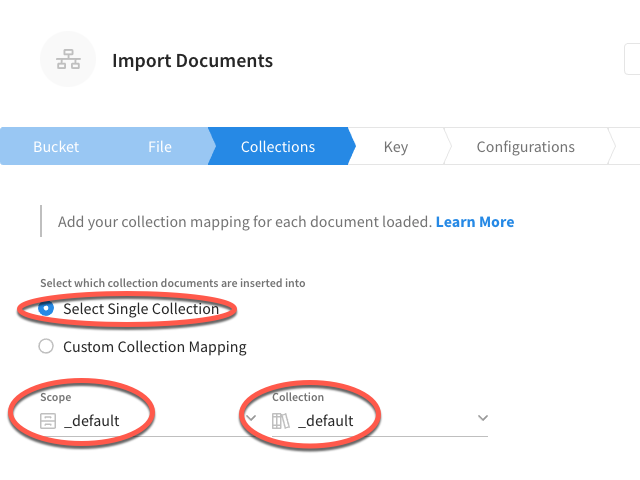
This and the next step are temporary measures when selecting Archive format. -
Click Next to move on to the next step
-
Select Automatically Generatated UUID
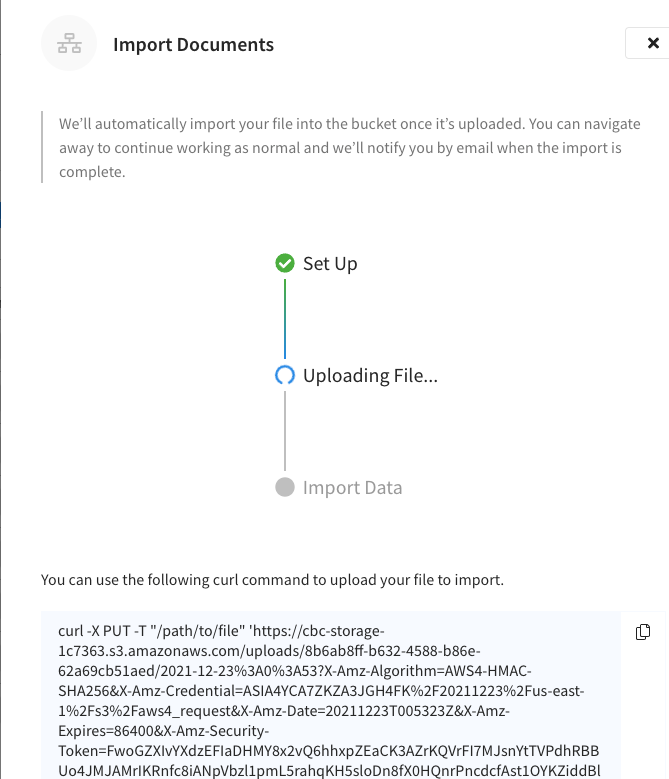
Once the import has completed, you will be presented with a final summary screen.
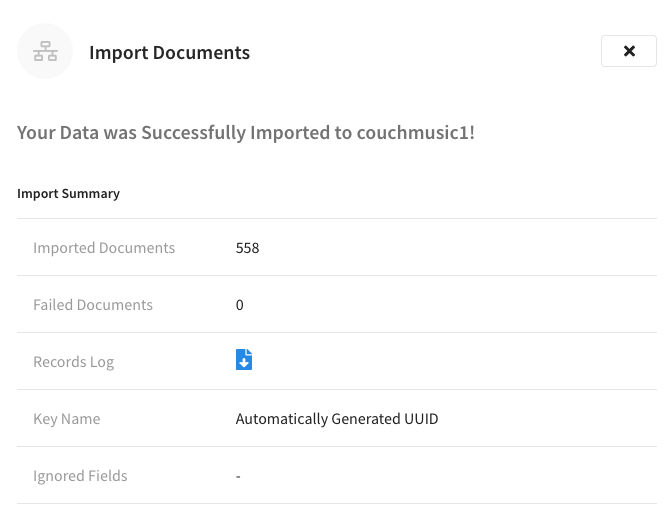
This import will create and populate a couchify scope and associated collections
Load the data for the couchmusic2 and couchmusic3 buckets
Use a similar process to import the data for the couchmusic2 and couchmusic3 buckets.
For the couchmusic2 bucket, locate the couchmusic2.zip file from the COUCHMUSIC-sample folder and use this for importing into the couchmusic2 bucket.
For the couchmusic3 bucket, locate the couchmusic3.zip file from the COUCHMUSIC-sample folder and use this for importing into the couchmusic3 bucket.
Verifying imported data
-
In the Couchbase Capella dashboard, locate the list of buckets under the Settings menua and make note of the total number of documents loaded into each of the buckets. You will be asked in the assessment to provide the number of documents for one of the three buckets created.
-
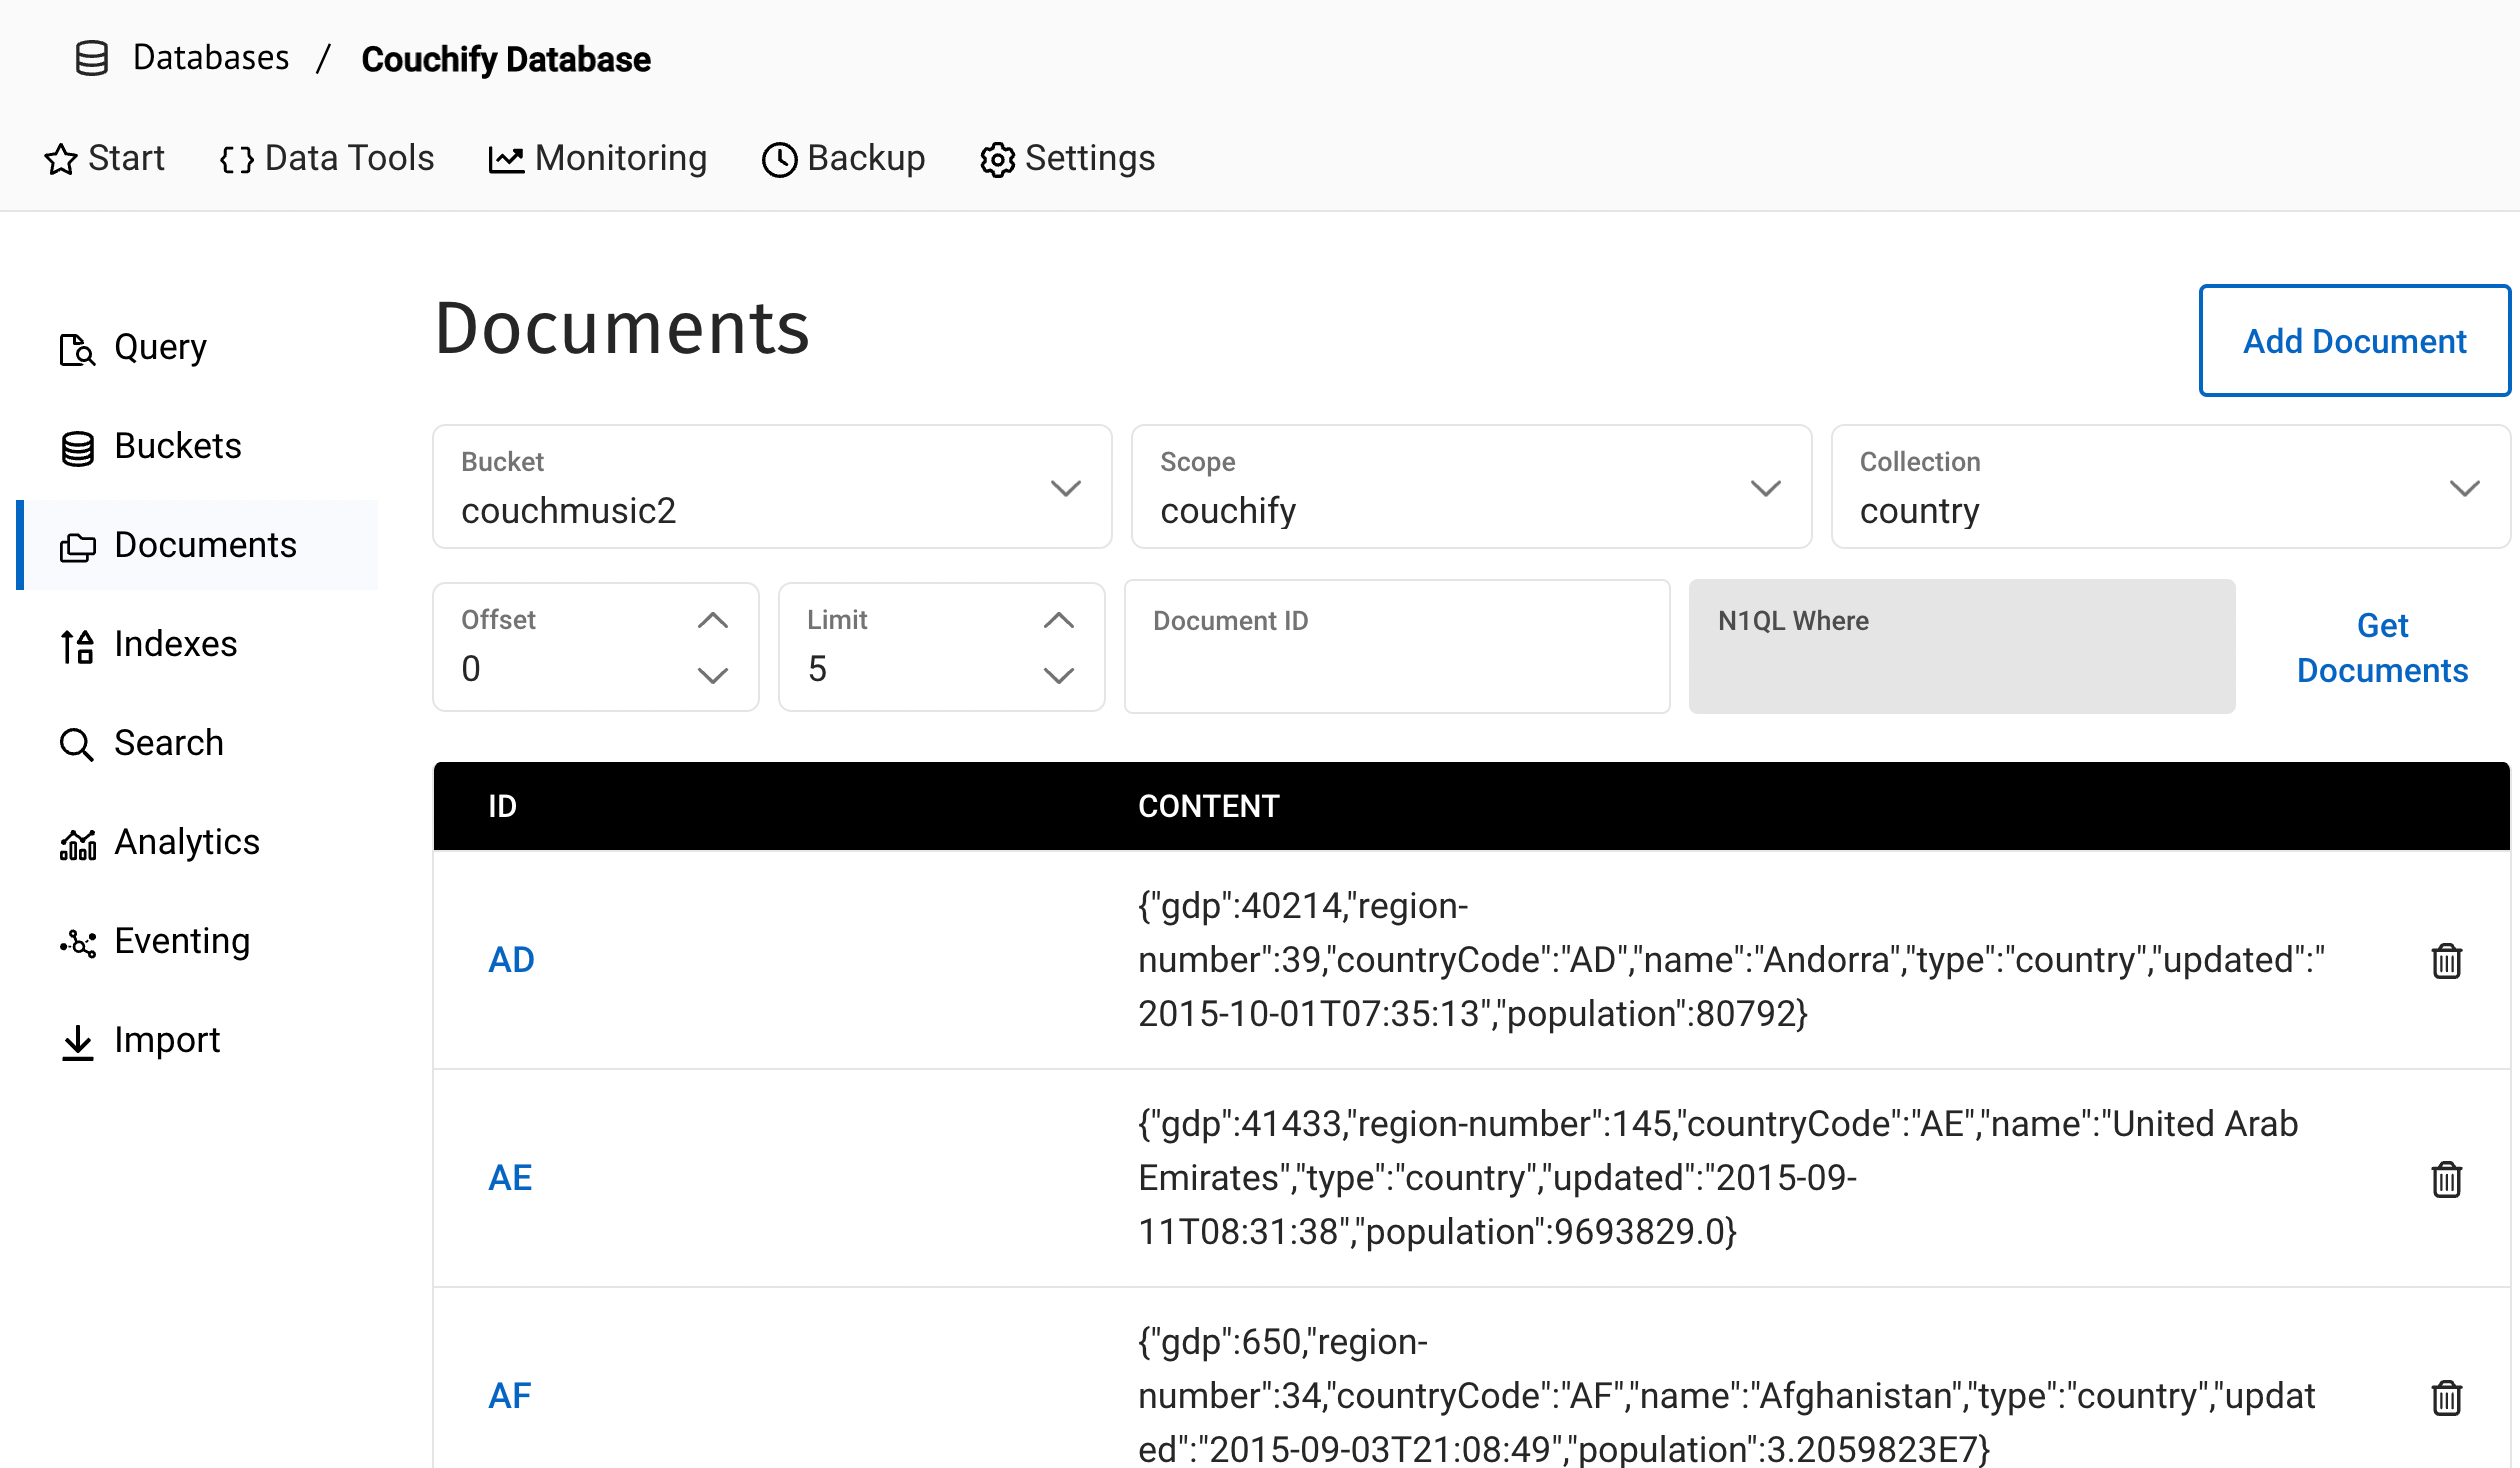
In the Documents view (accessed from the Data Tools menu), open the first document in the couchmusic2 bucket, couchify scope and the country collection to review its structure.
-
Notice the related metadata section. The metadata can be found either directly below the document data itself (by scrolling) or to the right of the document, depending on the width of the web page.
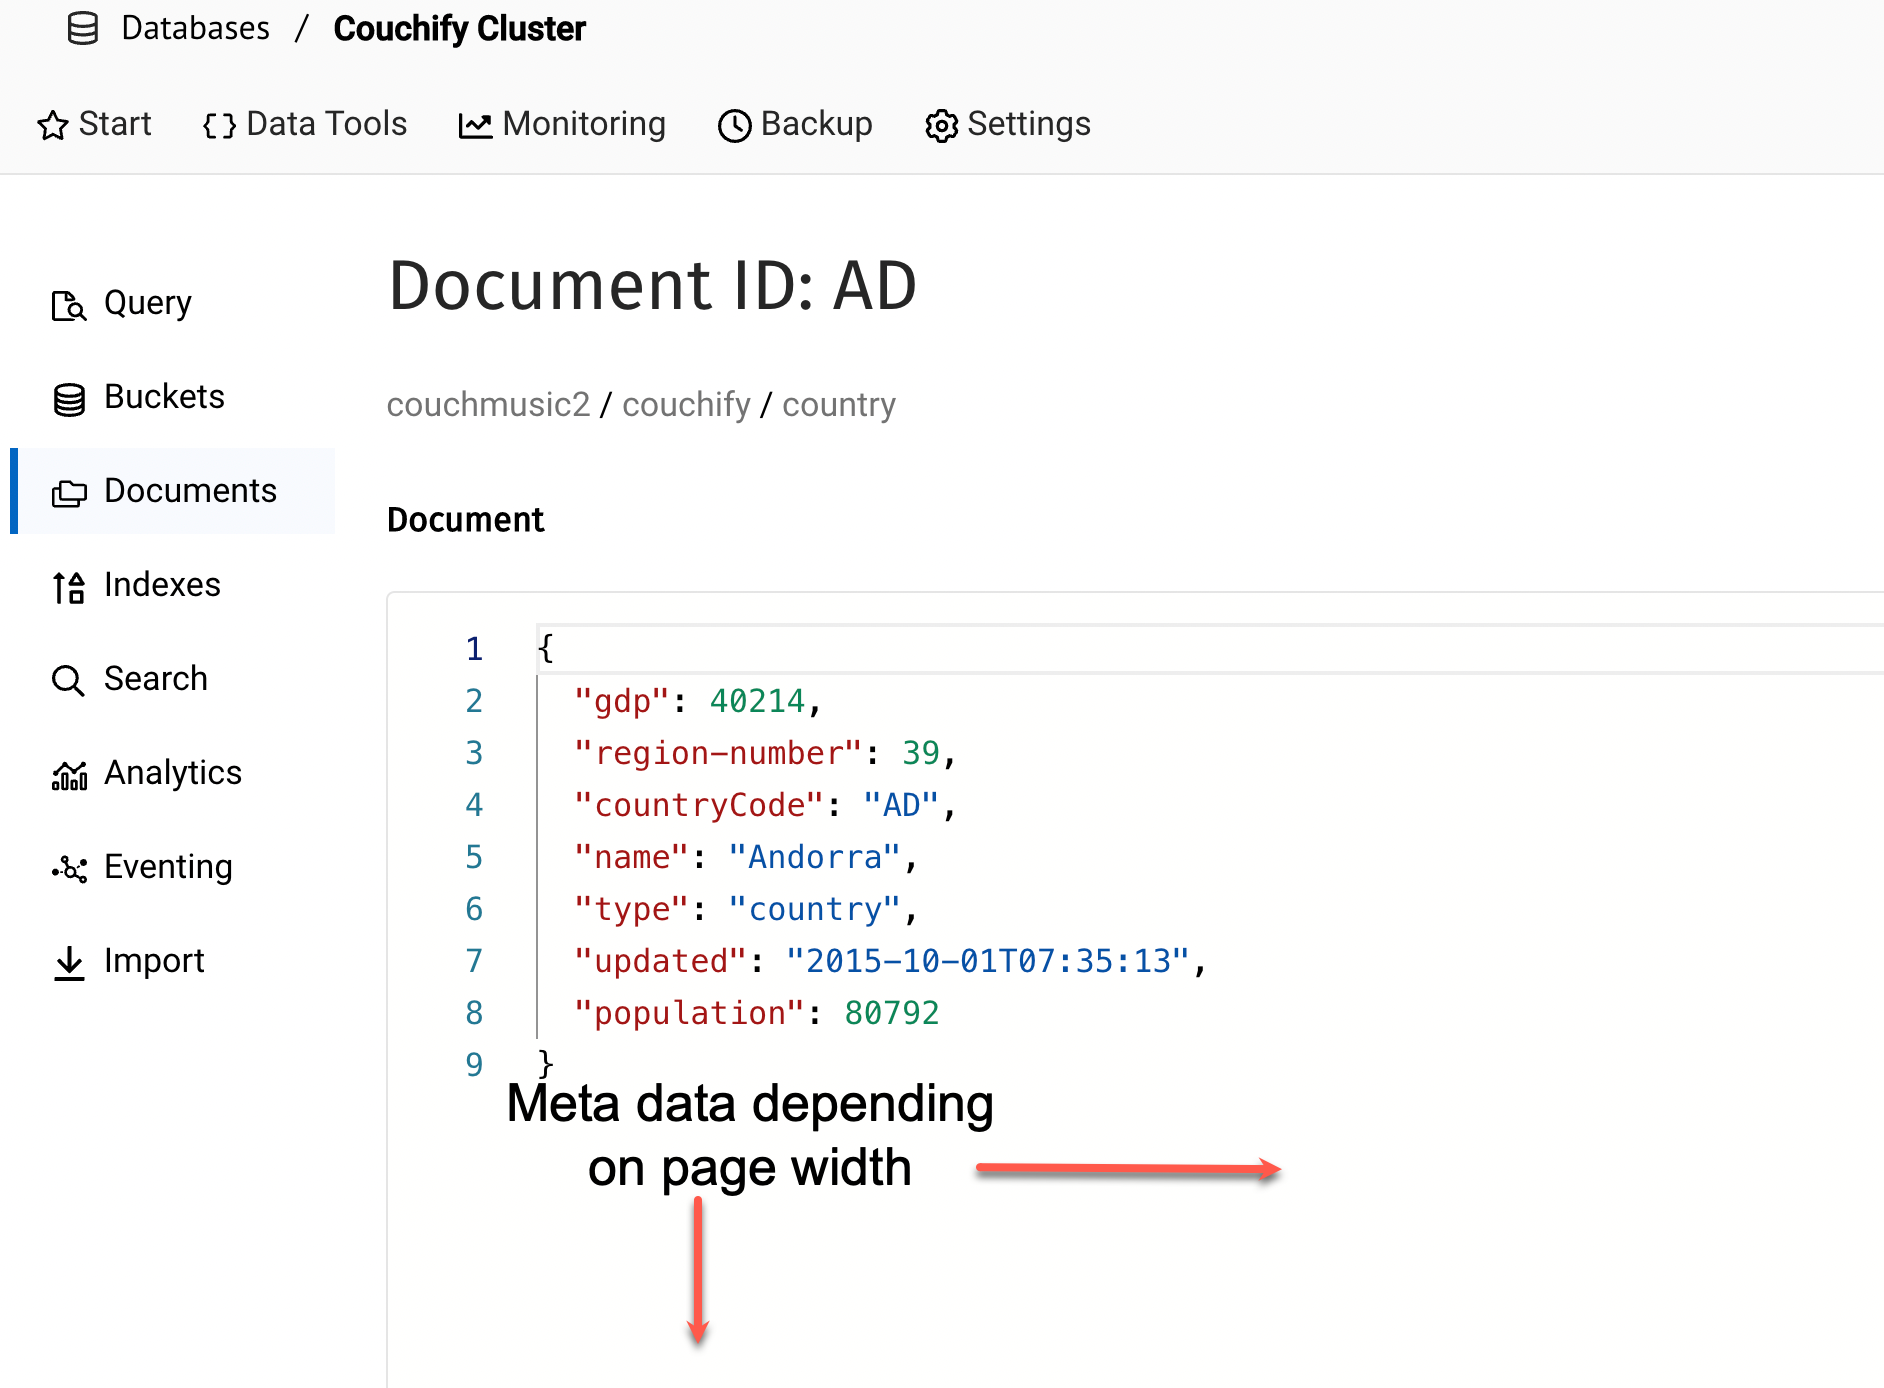
This data will be used by the successive labs.
Lab summary
In this lab you should have completed three key steps.
-
Set up a Capella Trial account
-
Launched a Couchbase Database
-
Created buckets and loaded data
These steps are foundational to being ready to develop data-driven applications.
Congratulations! You have completed this lab.